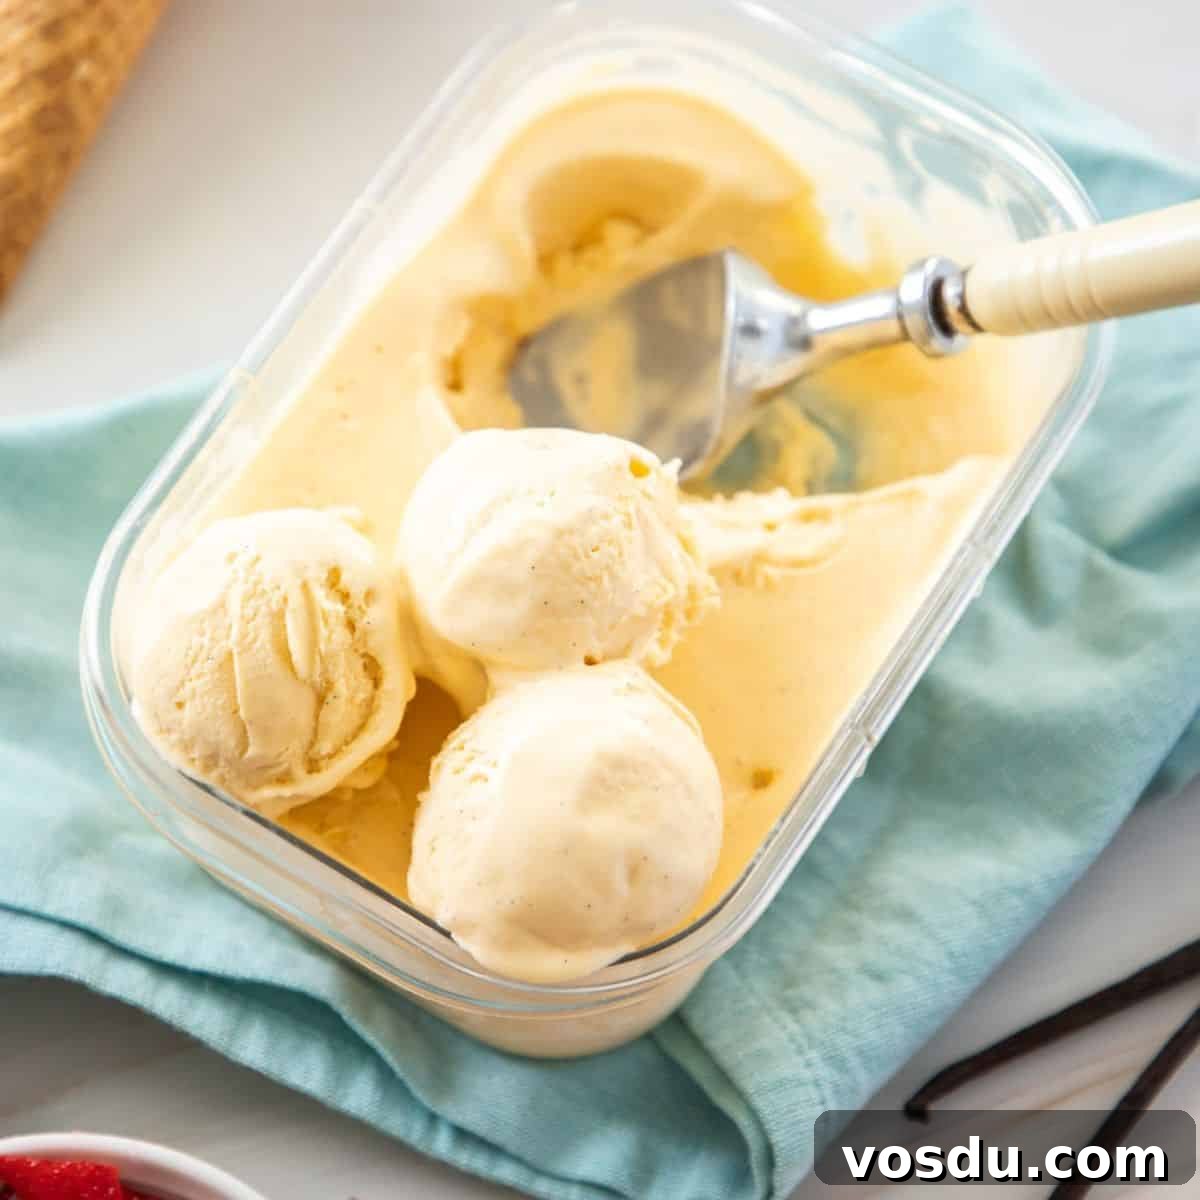
Enjoy the fresh, smooth and creamy texture of this classic No-Churn Vanilla Ice Cream. Homemade ice cream has a clean, natural flavour you won’t find in most store-bought varieties, and this version is very simple to make with just four ingredients.
The texture is so smooth and it tastes creamy and delicious. My family loved it!
– Angela
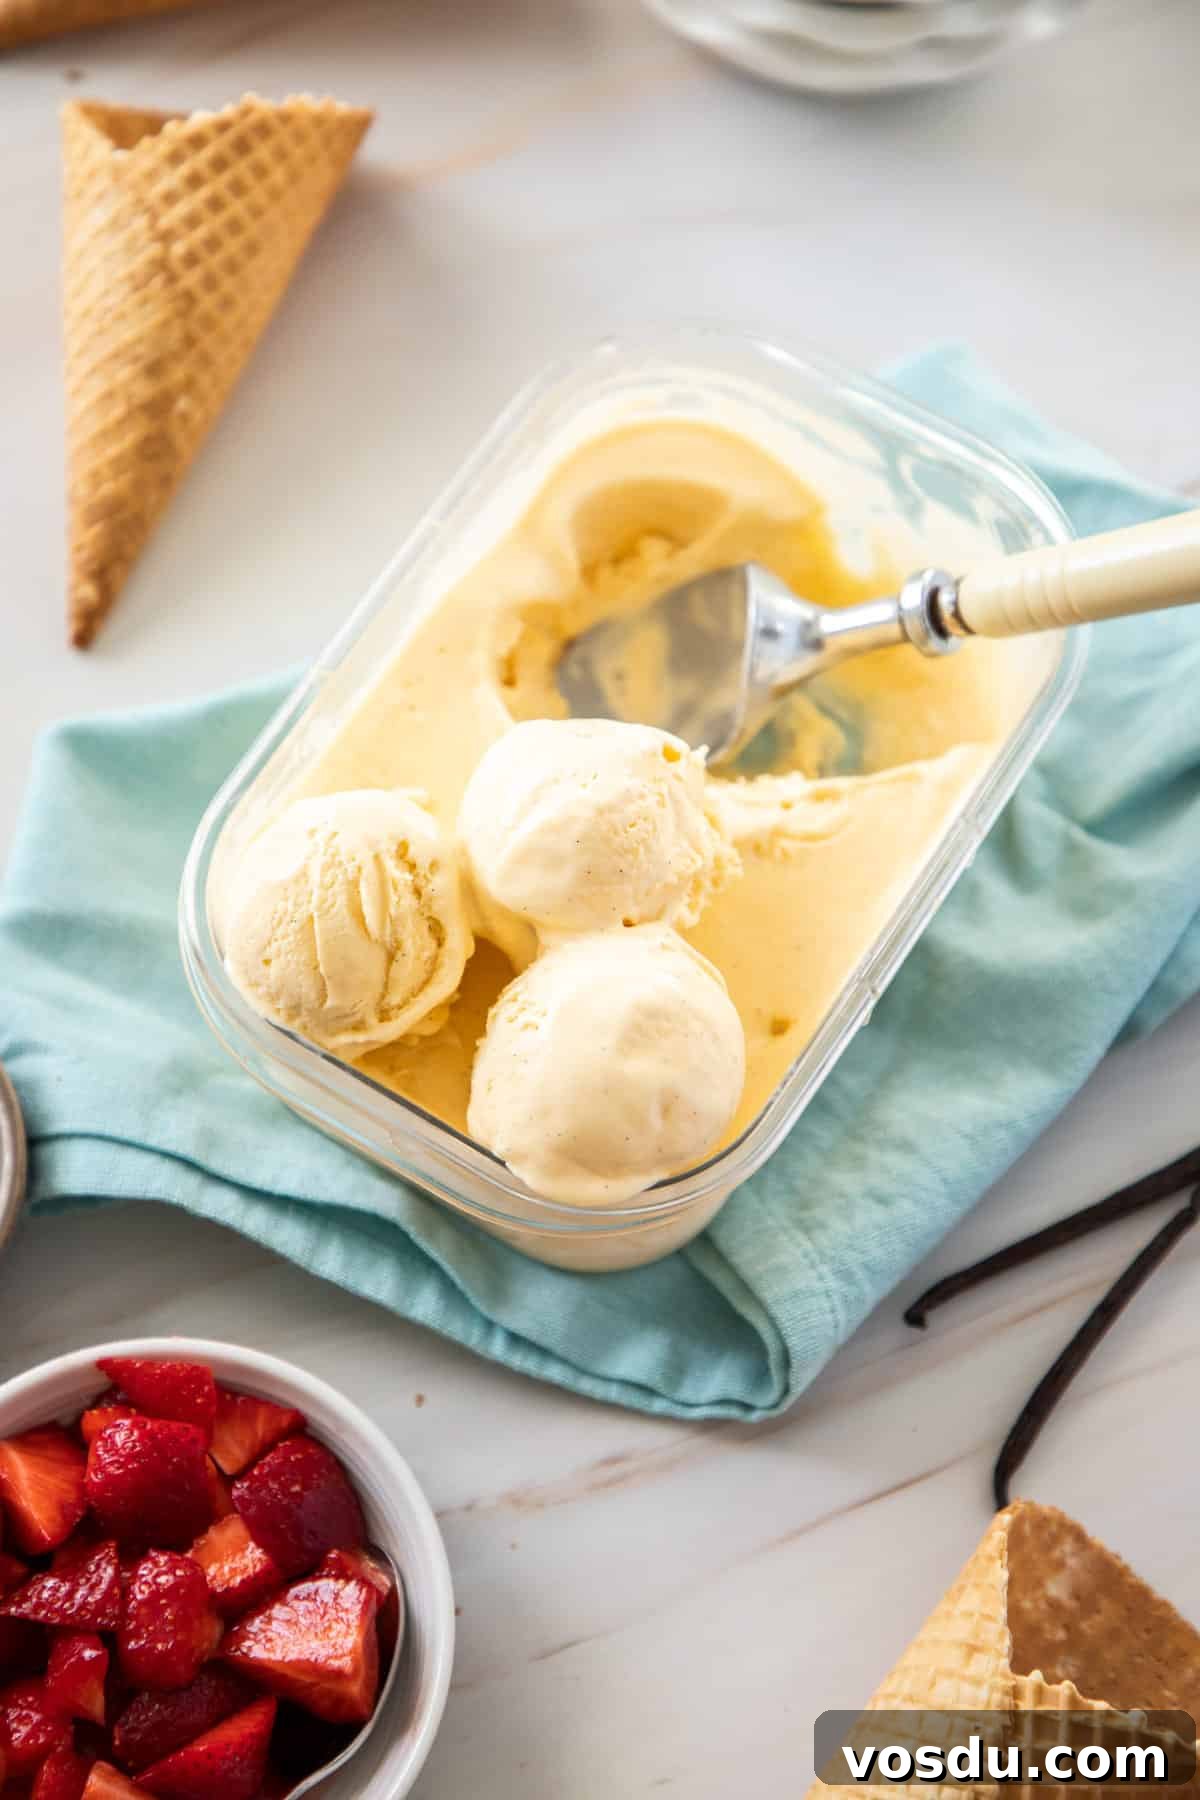
Why You’ll Love This Recipe:
- Classic vanilla works beautifully with many desserts and toppings — think warm sauces, fruit compotes or simply a drizzle of caramel or chocolate.
- Making it at home means you control every ingredient. There are no unnecessary stabilizers or preservatives, just real cream, egg yolks, sugar and vanilla.
- This recipe uses a custard base made with egg yolks, which gives the ice cream a rich, silky texture and helps prevent the formation of ice crystals. The natural lecithin in yolks acts as an emulsifier to bind fat and water for a creamy mouthfeel.
- It requires no ice cream machine. With careful cooking and a simple freezing routine, you achieve a wonderfully smooth, no-churn result using just four ingredients.
Recipe inspiration: A family recipe handed down from my mother — a longtime favourite at home.
Ingredients and Substitutions:
See the recipe card below for exact quantities and the full method.
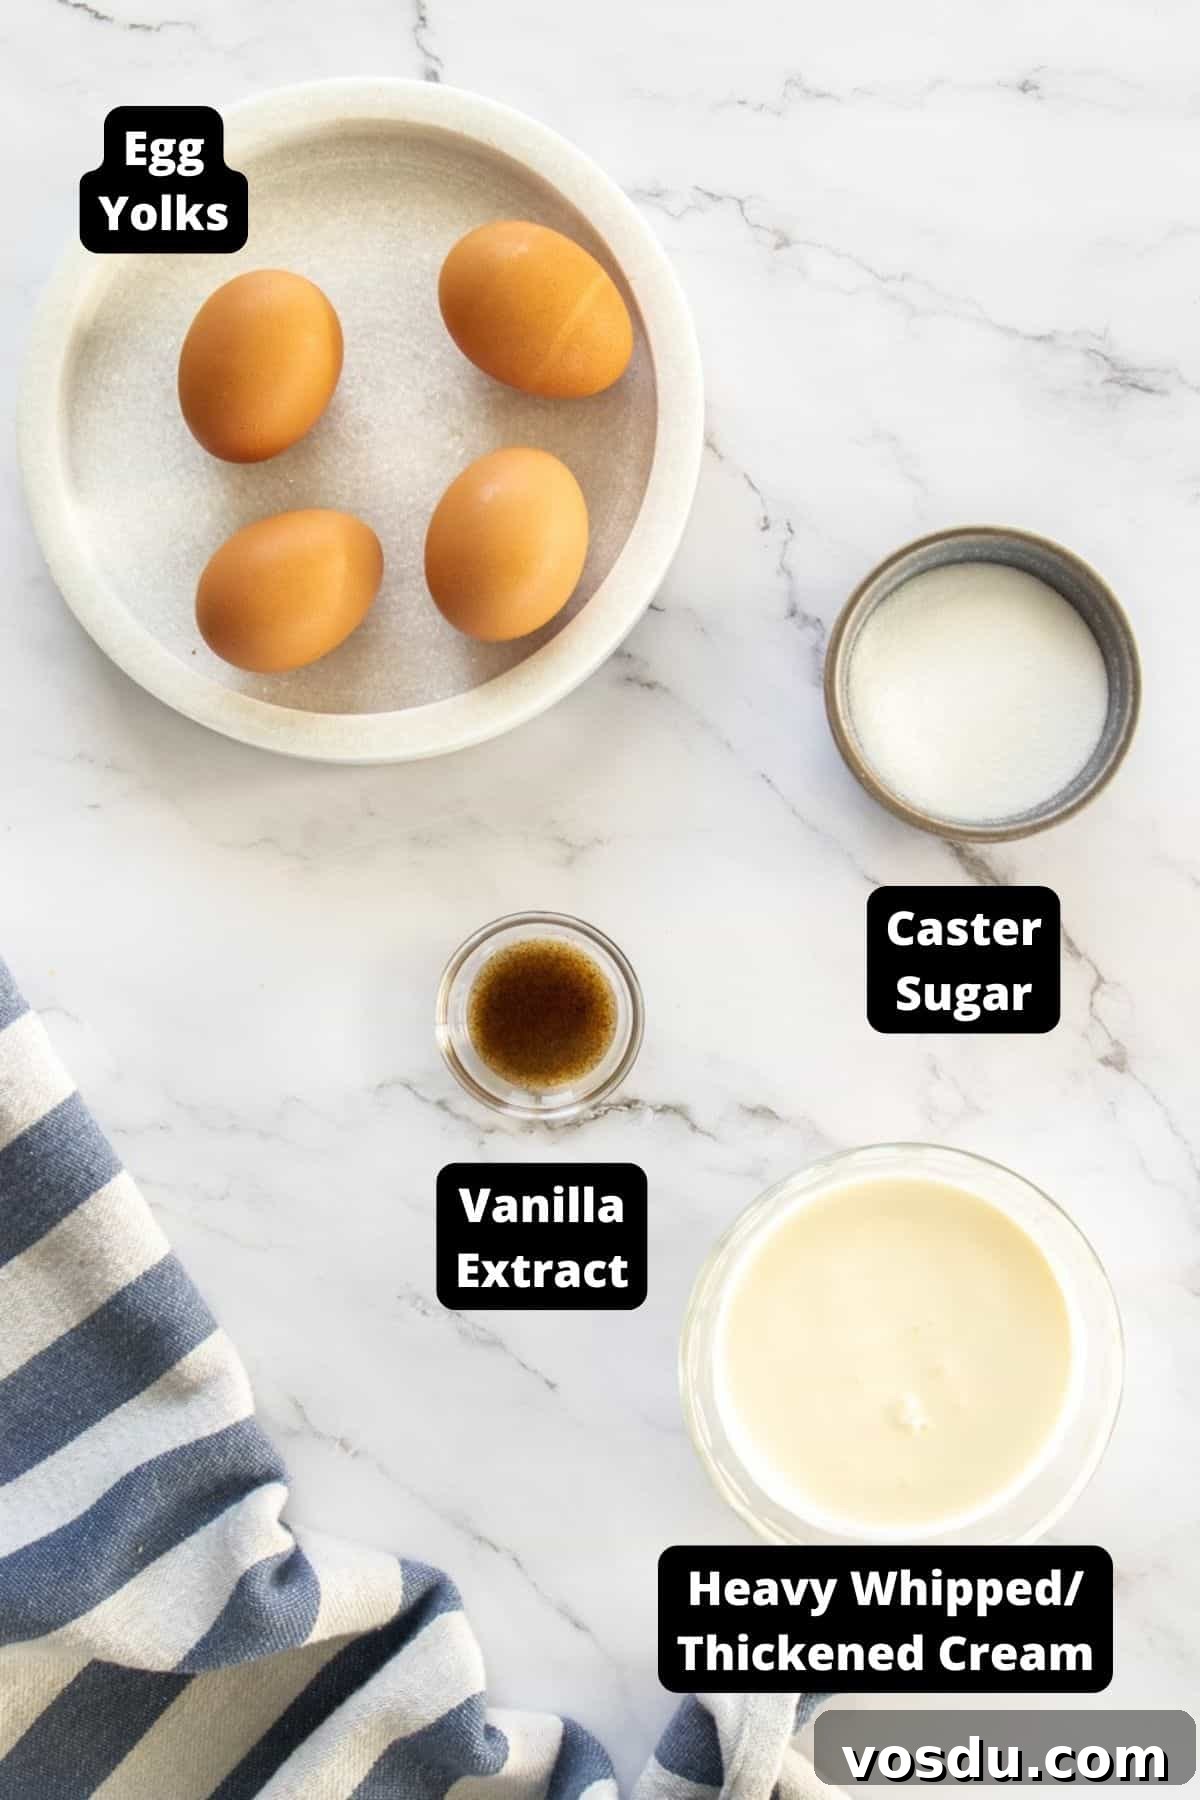
- Egg yolks — add richness and contribute to a smooth, velvety texture.
- Caster (superfine) sugar — dissolves quickly for a silky custard; granulated sugar can be used but may take longer to dissolve.
- Whipping/heavy cream — use a cream with about 35% milk fat for the best texture and stability.
- Vanilla bean paste or vanilla extract — paste gives little brown speckles and a strong vanilla flavour; use a good-quality natural extract if preferred.
Variations:
Mix-ins: Fold in crushed cookies, chocolate chips, candy pieces or swirl through caramel or chocolate sauce before freezing. Spices like ground cinnamon or a pinch of nutmeg can add warmth.
Citrus and fruit versions: For a bright alternative, try adapting this method with lime, orange or lemon zest and juice for a refreshing no-churn citrus ice cream.
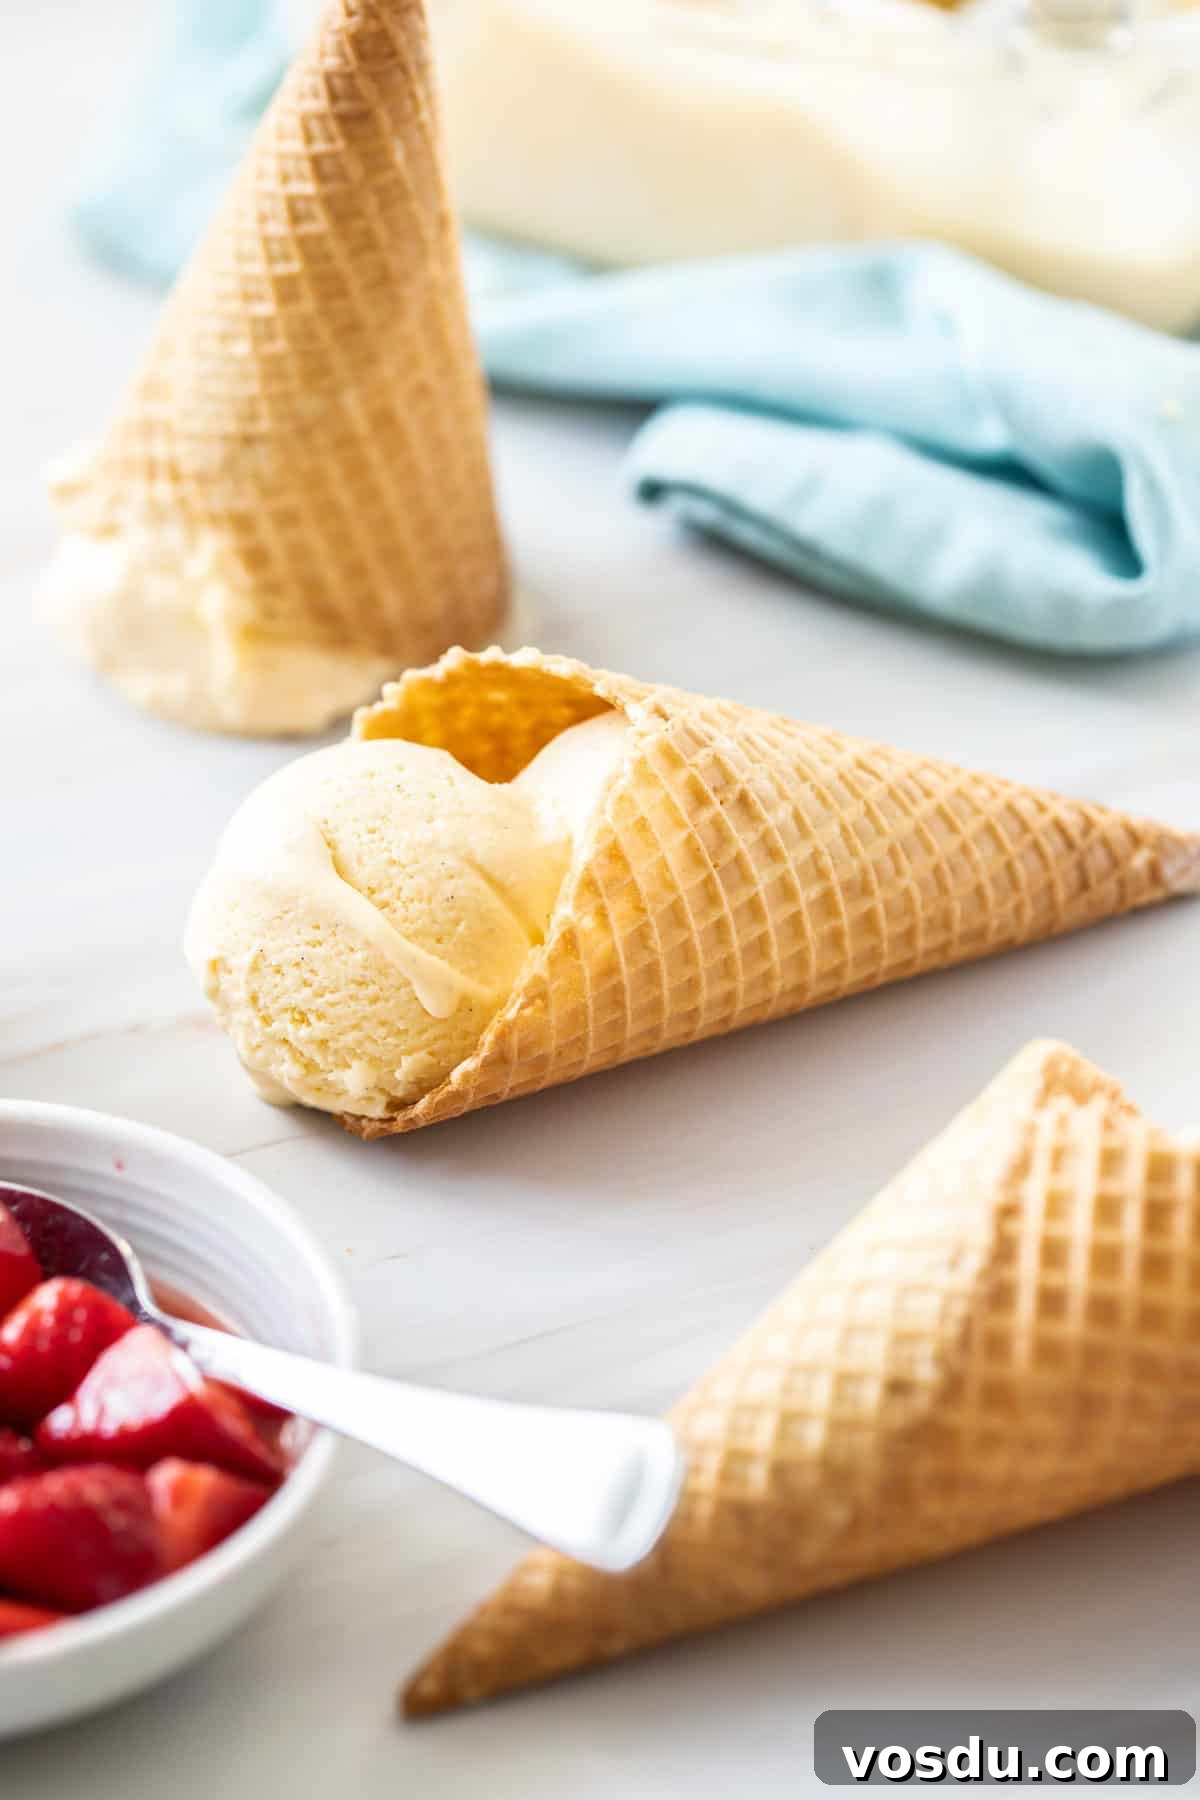
How To Make Vanilla Ice Cream:
See the recipe card below for exact ingredient amounts and full step-by-step instructions.
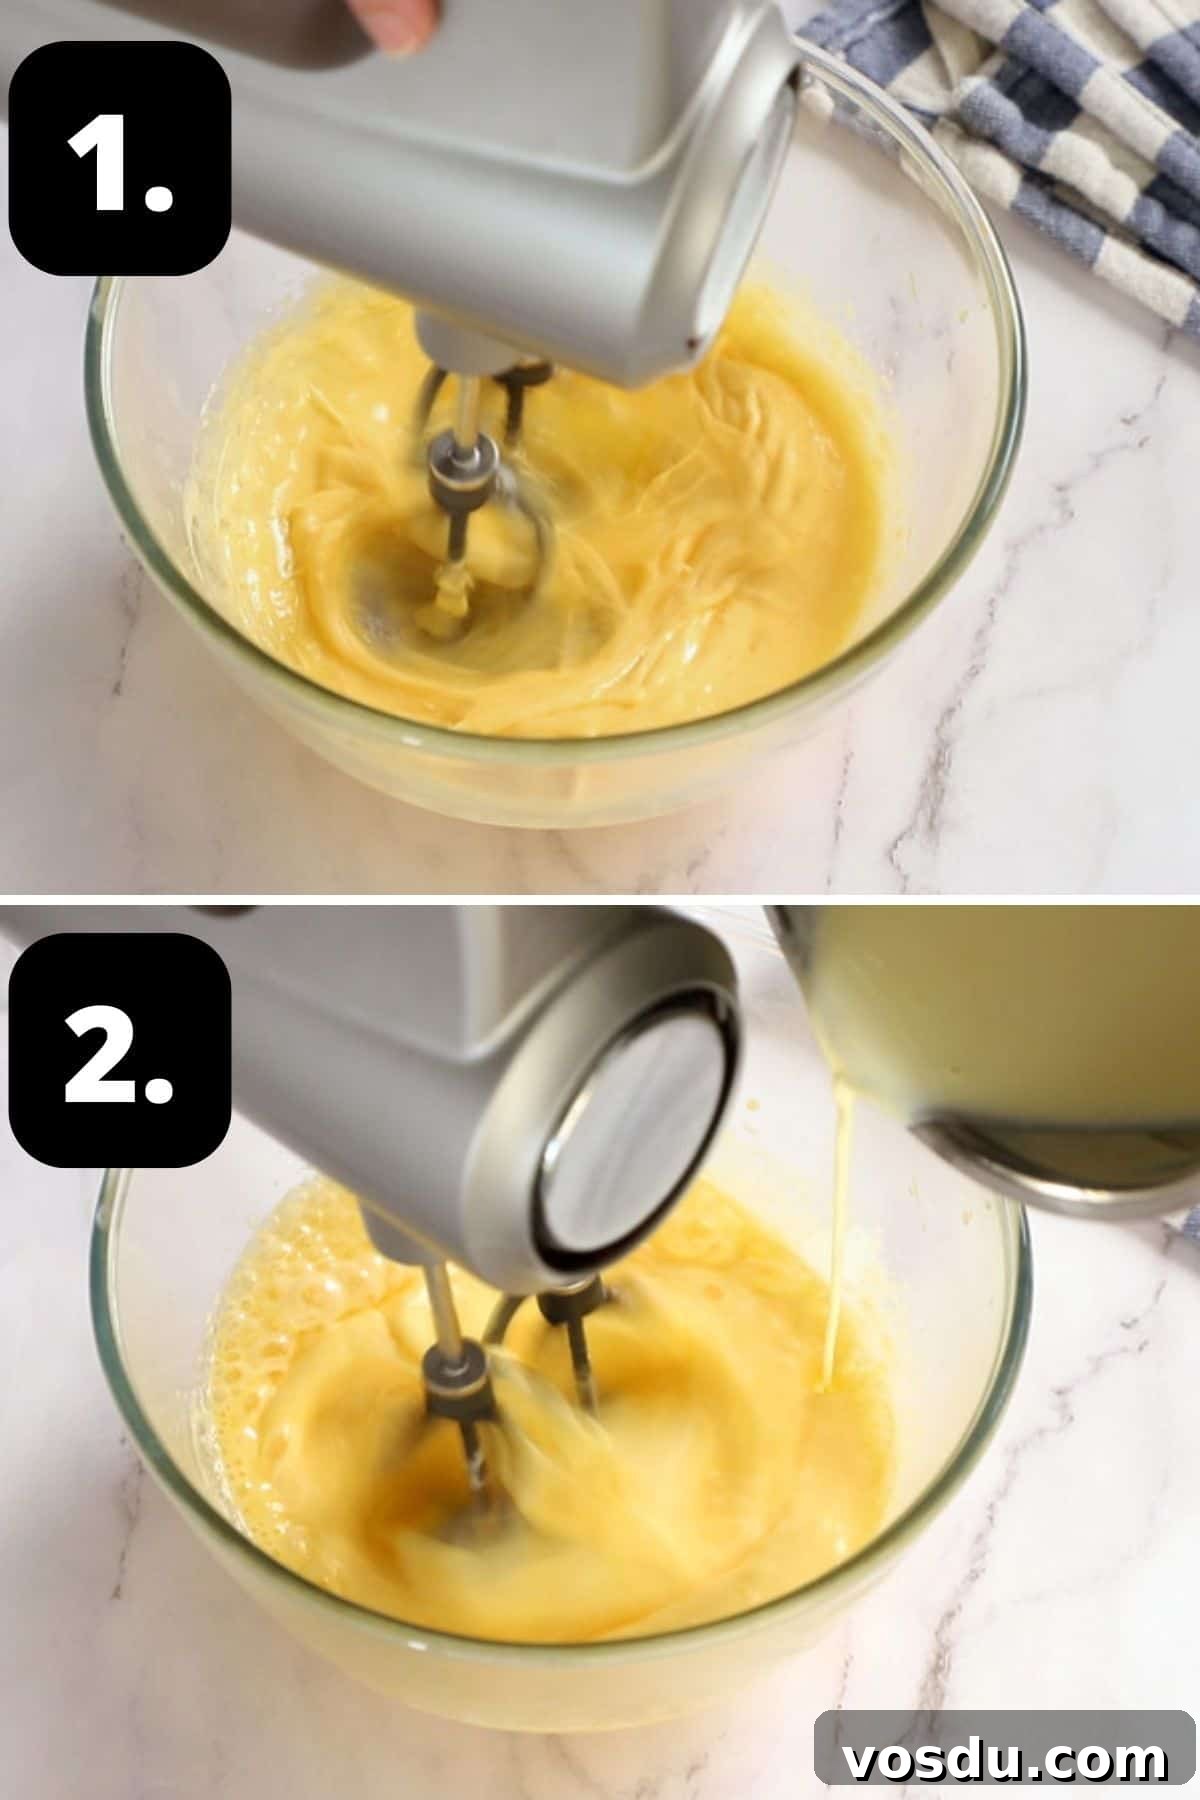
1 — Warm the cream: Pour the cream into a heavy-based saucepan and heat gently until it is just below boiling. Do not let it boil vigorously.
2 — Whisk yolks and sugar: In a heatproof bowl, whisk the egg yolks with the caster sugar until pale, light and slightly thickened.
3 — Temper the eggs: Slowly pour a little of the hot cream into the yolk mixture while whisking constantly to gently raise the temperature of the eggs. Gradually add the rest of the cream, whisking to combine.
4 — Cook the custard: Set the bowl over a saucepan of barely simmering water (a bain-marie) and stir continuously with a wooden spoon in a figure-of-eight motion until the custard thickens enough to coat the back of the spoon. Keep the heat low to avoid scrambling the eggs.
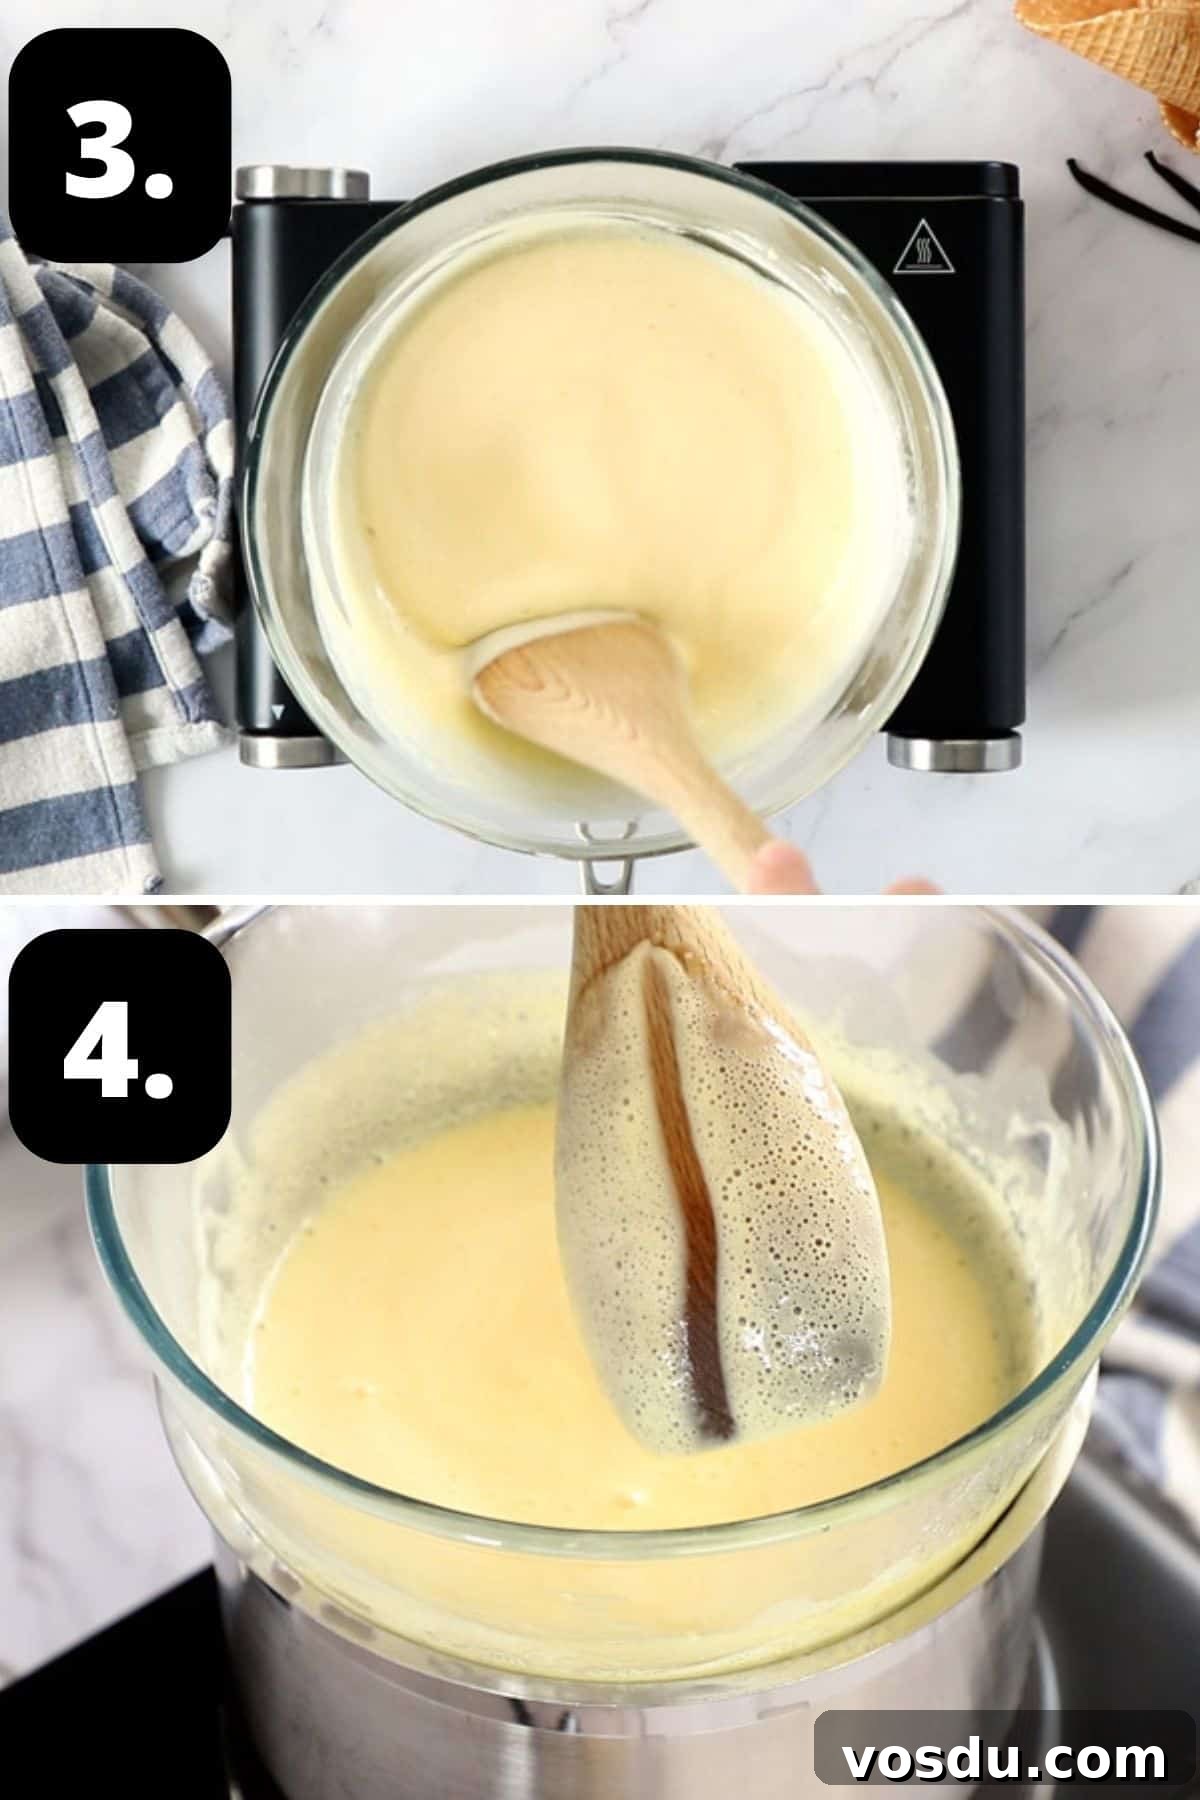
5 — Strain and cool: Strain the custard through a fine sieve into a clean bowl. Stir occasionally as it cools to prevent a skin forming. When cool, stir in vanilla to taste — slightly stronger than you think you need, as freezing dulls flavours.
6 — Freeze and stir: Pour the mixture into a chilled, shallow, airtight container and place it in the freezer. Over the next three hours, remove it every 30 minutes and stir vigorously with a fork to break up forming ice crystals. After this period let it freeze solid for another hour or so.
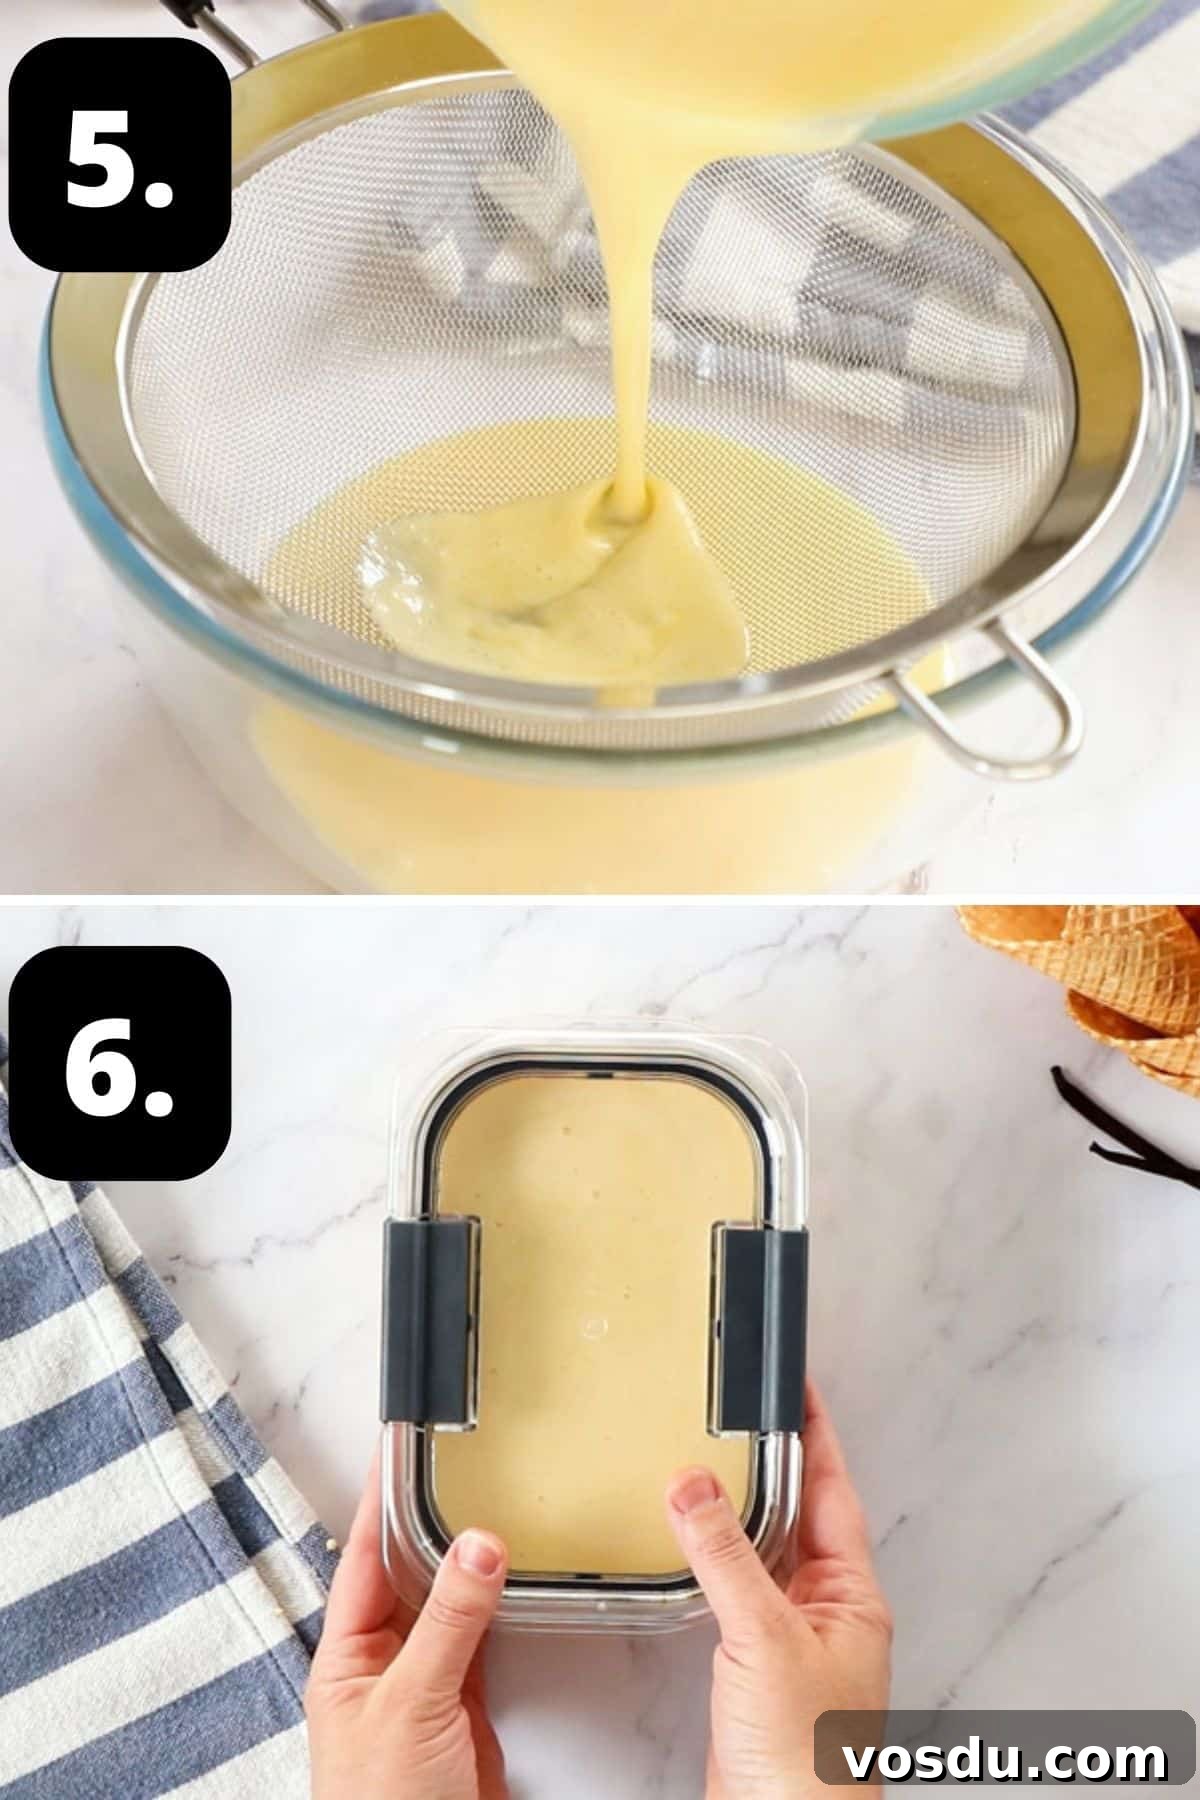
Hint: Over-flavour the base slightly with vanilla because frozen desserts taste less intense than when warm.
Tips for Success, Storage and FAQs:
Use egg yolks (not whole eggs) and a high-fat cream (around 35%). Egg whites are mostly water and can increase the risk of ice crystals. The egg yolks and cream fat help create a stable, smooth texture.
Not difficult, but it requires patience. Keep the heat low and stir constantly while the custard thickens. Rushing the process risks curdling the eggs.
Store in a shallow, airtight freezer-safe container. Press a layer of plastic wrap over the surface to limit ice crystal formation. For best flavour and texture, enjoy within 5–7 days.
Top Tip:
Save any leftover egg whites in the refrigerator for up to four days or freeze them for later use. Frozen egg whites can be kept in labeled containers or ice cube trays for individual portions. They are perfect for meringues, cookies or other recipes that use whipped egg whites.
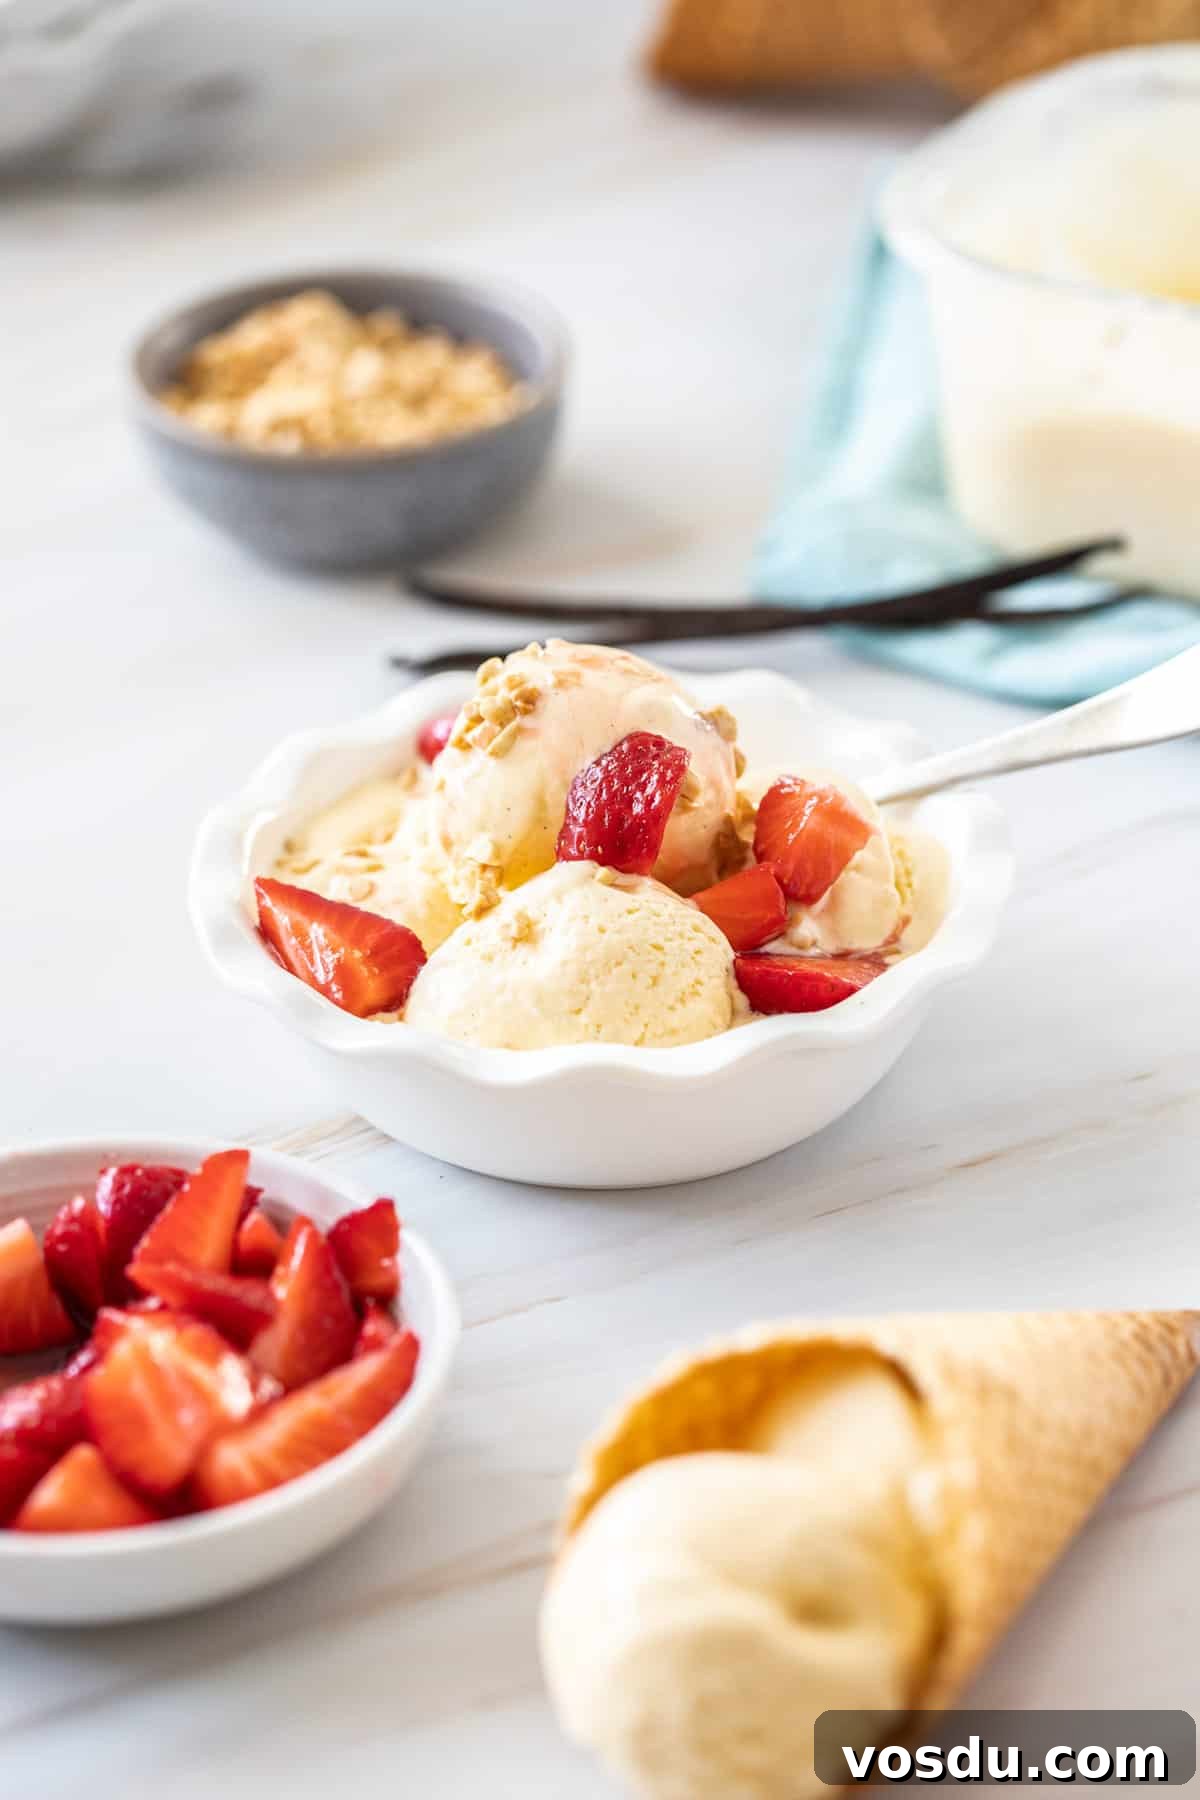
Serving Suggestions:
No-churn vanilla is versatile. Some favourite ways to enjoy it:
- With a warm chocolate brownie — the contrast between hot and cold is irresistible.
- Alongside fruit tarts or puff pastry desserts for a creamy counterpoint to crisp pastry.
- As an affogato — pour a shot of hot espresso over a scoop for a quick, elegant dessert.
- With poached or baked fruit such as spiced plums, baked pears or stewed apples.
This no-churn vanilla is a timeless recipe that works all year round. If you try it, I’d love to hear how it turned out.
Alex xx
More Delicious Recipes For You To Try:
-
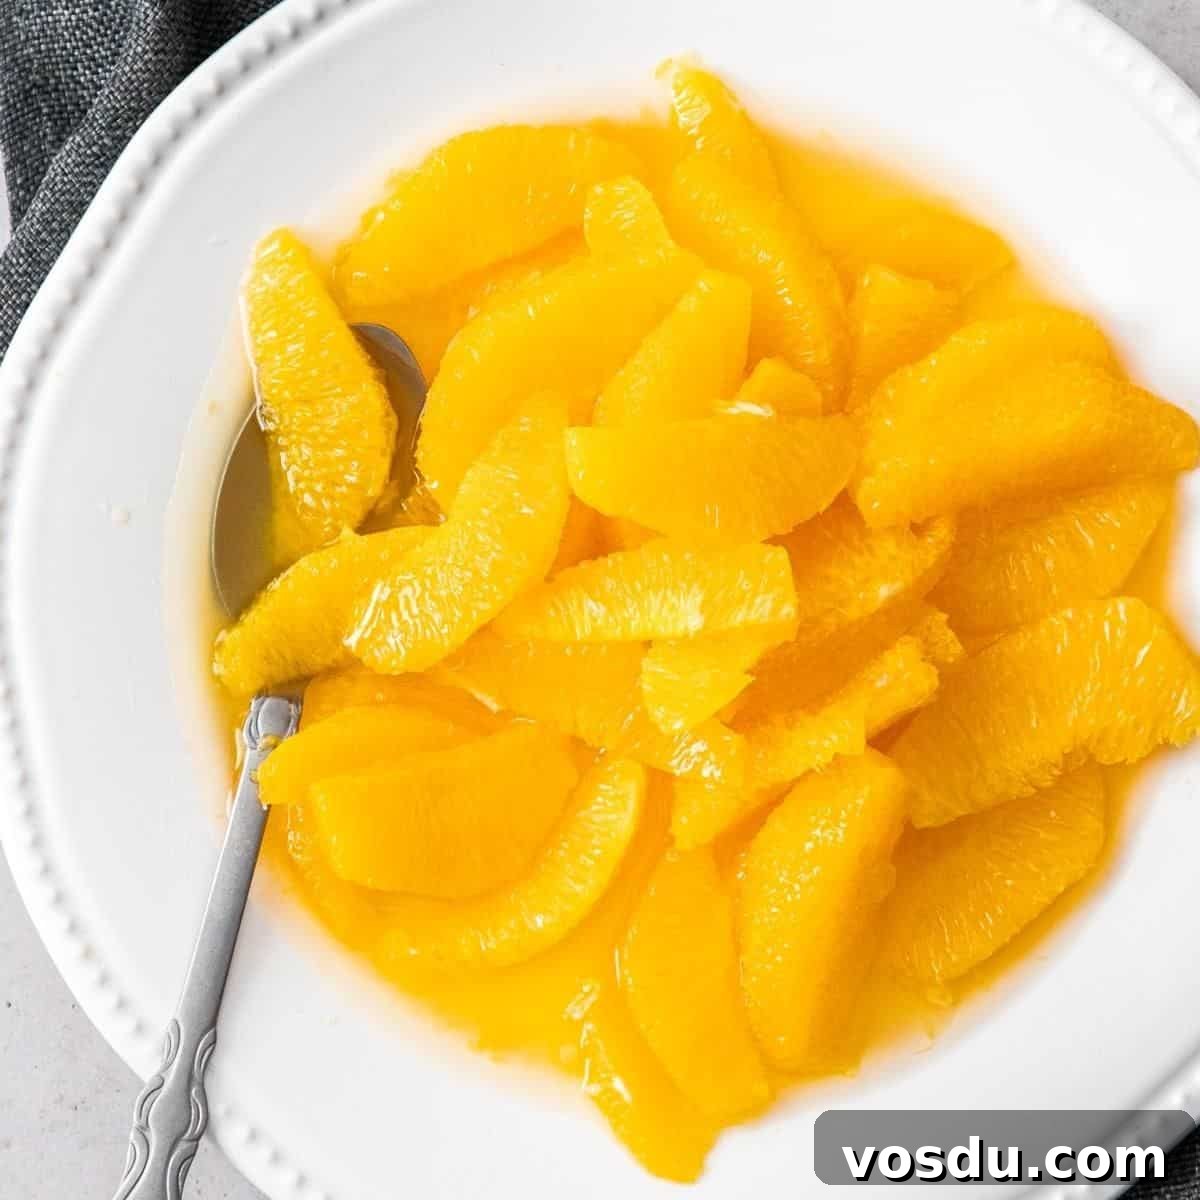
Brandied Oranges
-
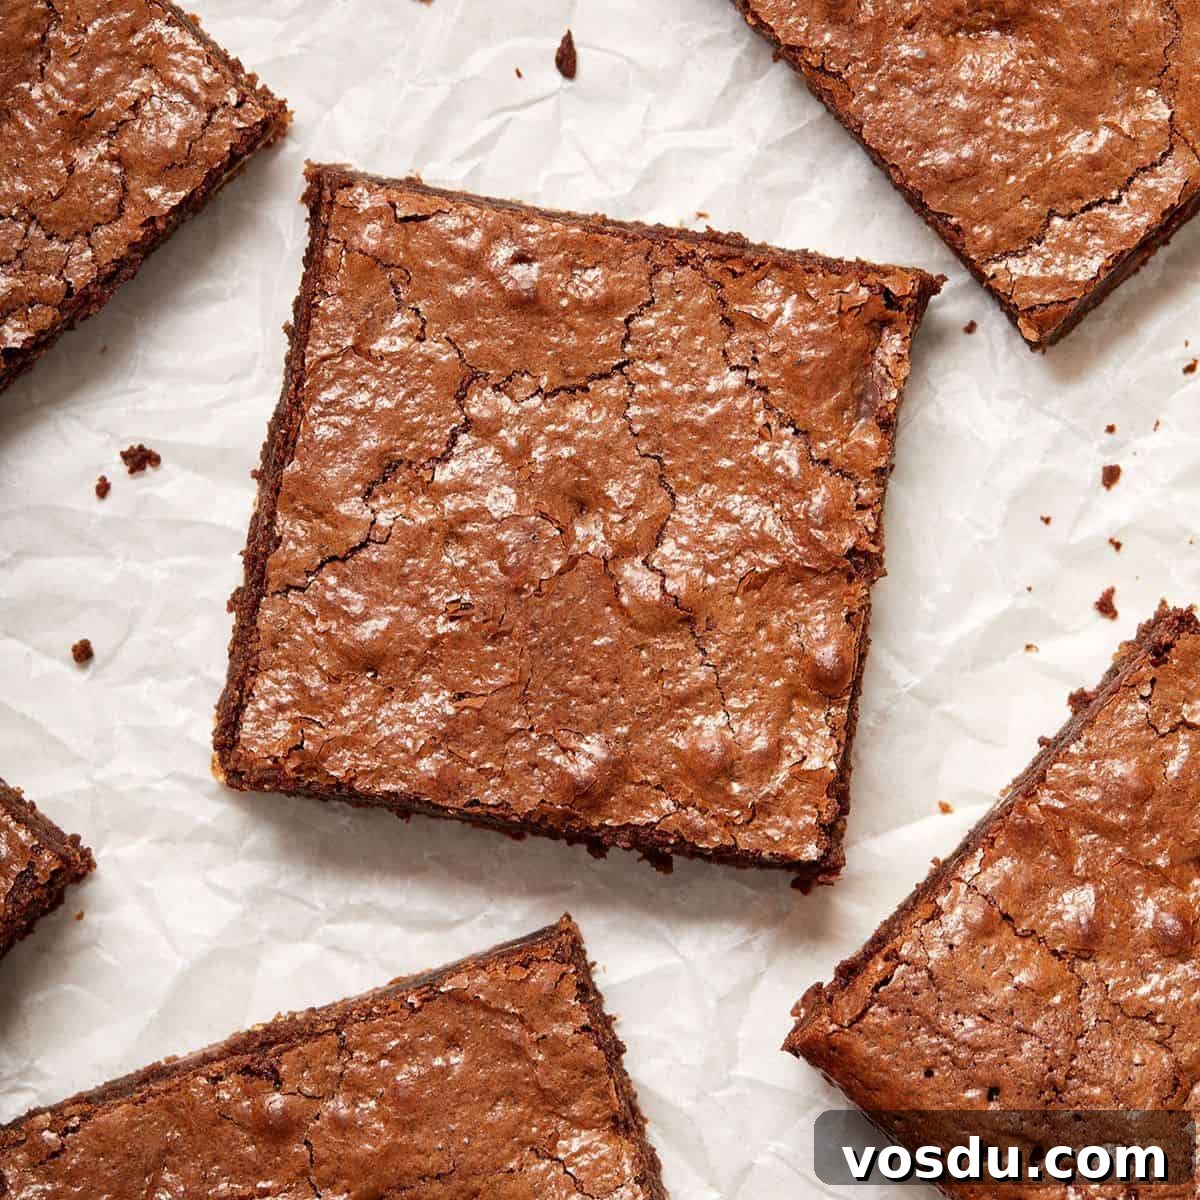
Almond Flour Brownies
-
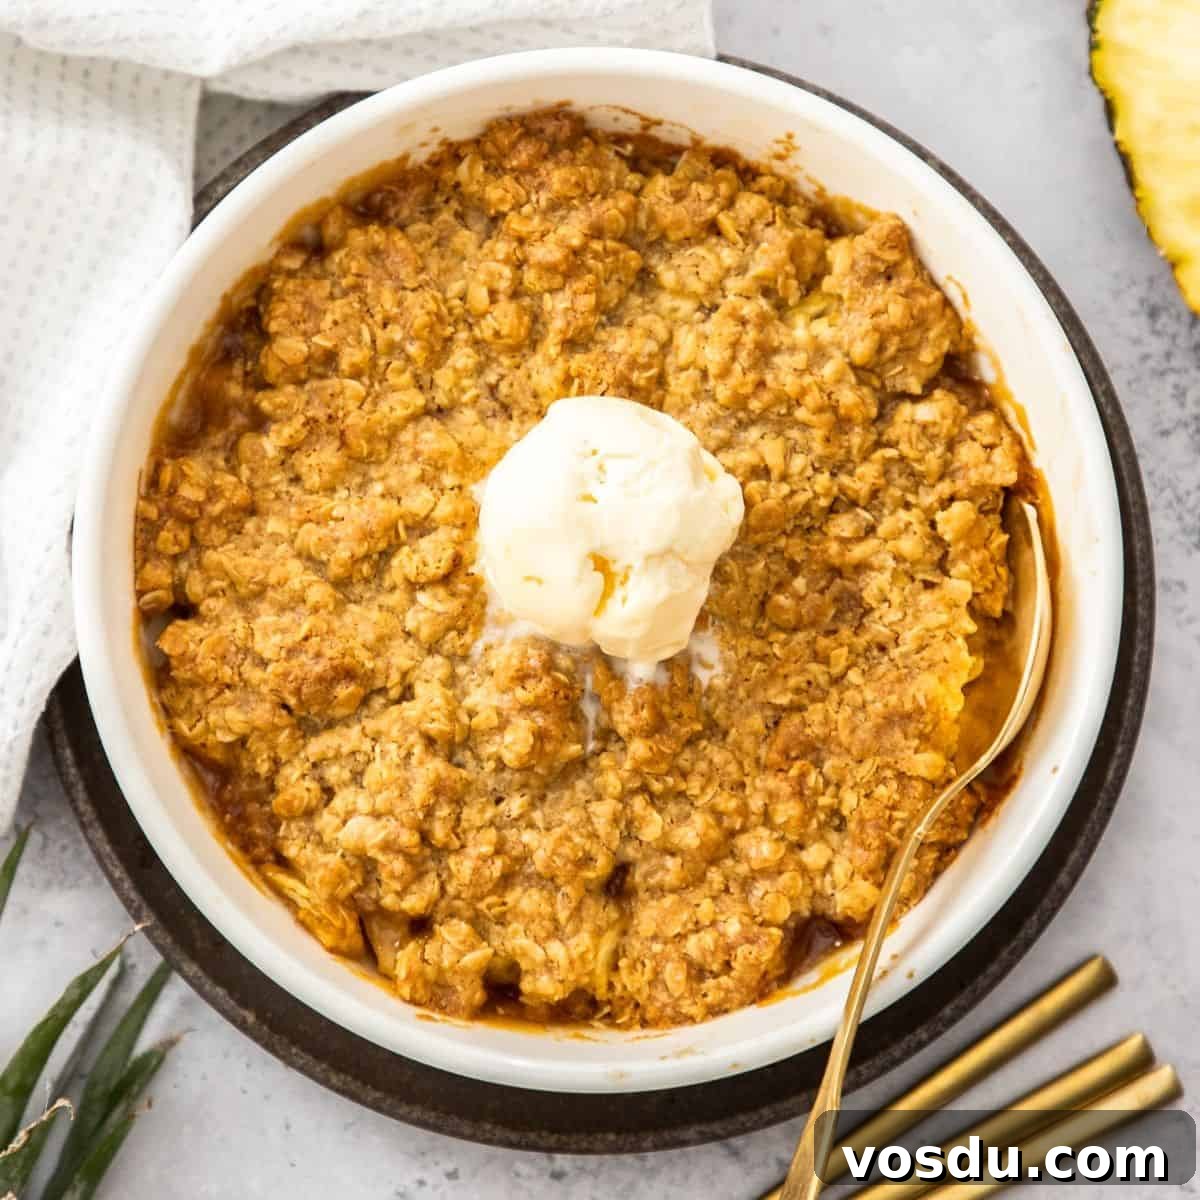
Fresh Pineapple Crisp
-
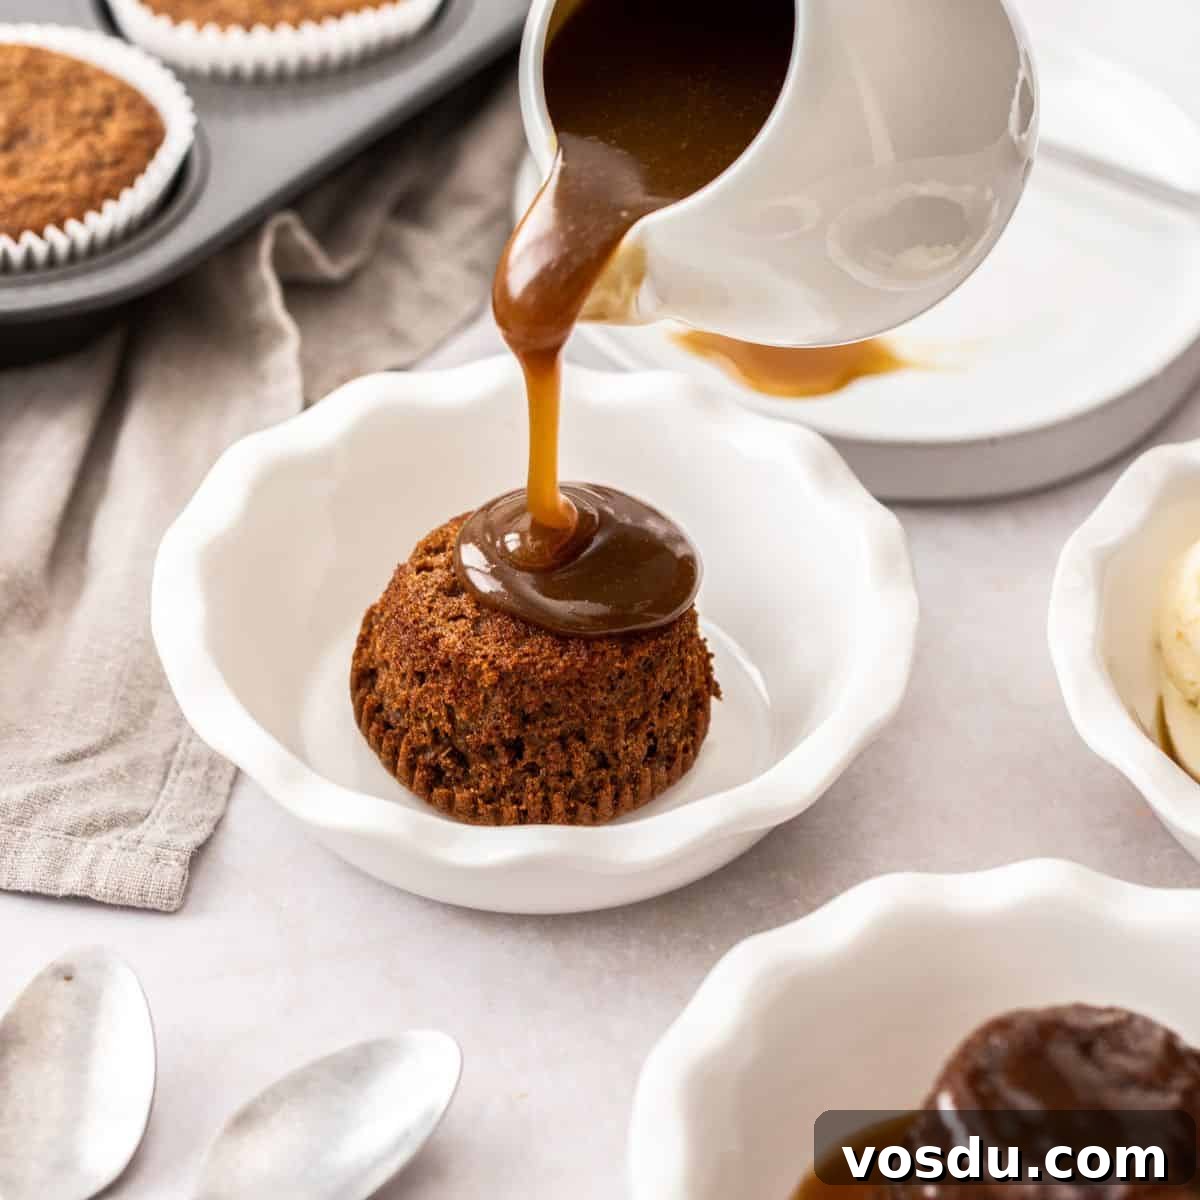
Gluten-Free Sticky Date Puddings
Stay in touch!
Follow the author on social channels and subscribe to the newsletter for updates and new recipes.
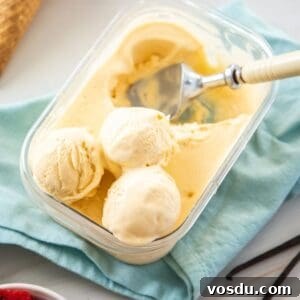
No-Churn Vanilla Ice Cream
Please note:
For best results weigh ingredients when weights are provided. All times are approximate and based on a fan-forced oven if indicated.
Ingredients
- 4 large egg yolks — at room temperature
- 60 g (¼ cup) caster/superfine sugar
- 420 ml (1 + ¾ cups) heavy whipping/thickened cream (about 35% fat)
- 2 teaspoons vanilla bean paste or vanilla extract, or to taste
Instructions
- Place an airtight container for the ice cream in the freezer to chill. A shallow container speeds freezing and makes scooping easier.
- Pour the cream into a heavy-based saucepan and heat over medium until just below boiling.
- Set up a double boiler by simmering water in a saucepan and placing a heatproof bowl over it.
- Whisk the egg yolks with the caster sugar in the heatproof bowl until pale and slightly thickened.
- Temper the eggs: slowly add the hot cream to the yolk mixture while whisking constantly.
- Place the bowl over the simmering water and stir continuously with a wooden spoon until the custard lightly coats the back of the spoon.
- Strain the custard through a fine sieve into a clean bowl and cool, stirring occasionally to prevent a skin from forming.
- When cool, stir in vanilla and pour the mixture into the chilled container. Freeze, then remove every 30 minutes to stir for about three hours until mostly set.
- Allow to freeze completely. Before serving, sit the container out for about 10 minutes to soften slightly.
- Store in a shallow, airtight container with plastic wrap pressed on the surface to reduce ice crystals. Best within 5–7 days.
Notes
- Cream: Use a cream with around 35% milk fat for the best texture.
- Vanilla: Vanilla bean paste gives speckles and strong flavour; a good natural extract also works well.
- Tempering eggs: Add hot liquid slowly to the eggs to avoid scrambling them.
- Freezing time: Times are approximate — container size and freezer temperature affect total freezing time.
- Storage: Keep in an airtight freezer-safe container and press plastic wrap on the surface to minimize ice crystals. Best flavour and texture for 5–7 days.
Made this recipe? Please leave a comment and rating to let others know how it turned out.
Nutrition Estimate:
|
Carbohydrates: 13 g
|
Fat: 28 g
Nutritional Disclaimer:
The nutritional information is an estimate only. For precise values, calculate based on the exact ingredients and brands you use.
This post was originally published in September 2018. It has been updated with new photos and additional information; the recipe remains the same.