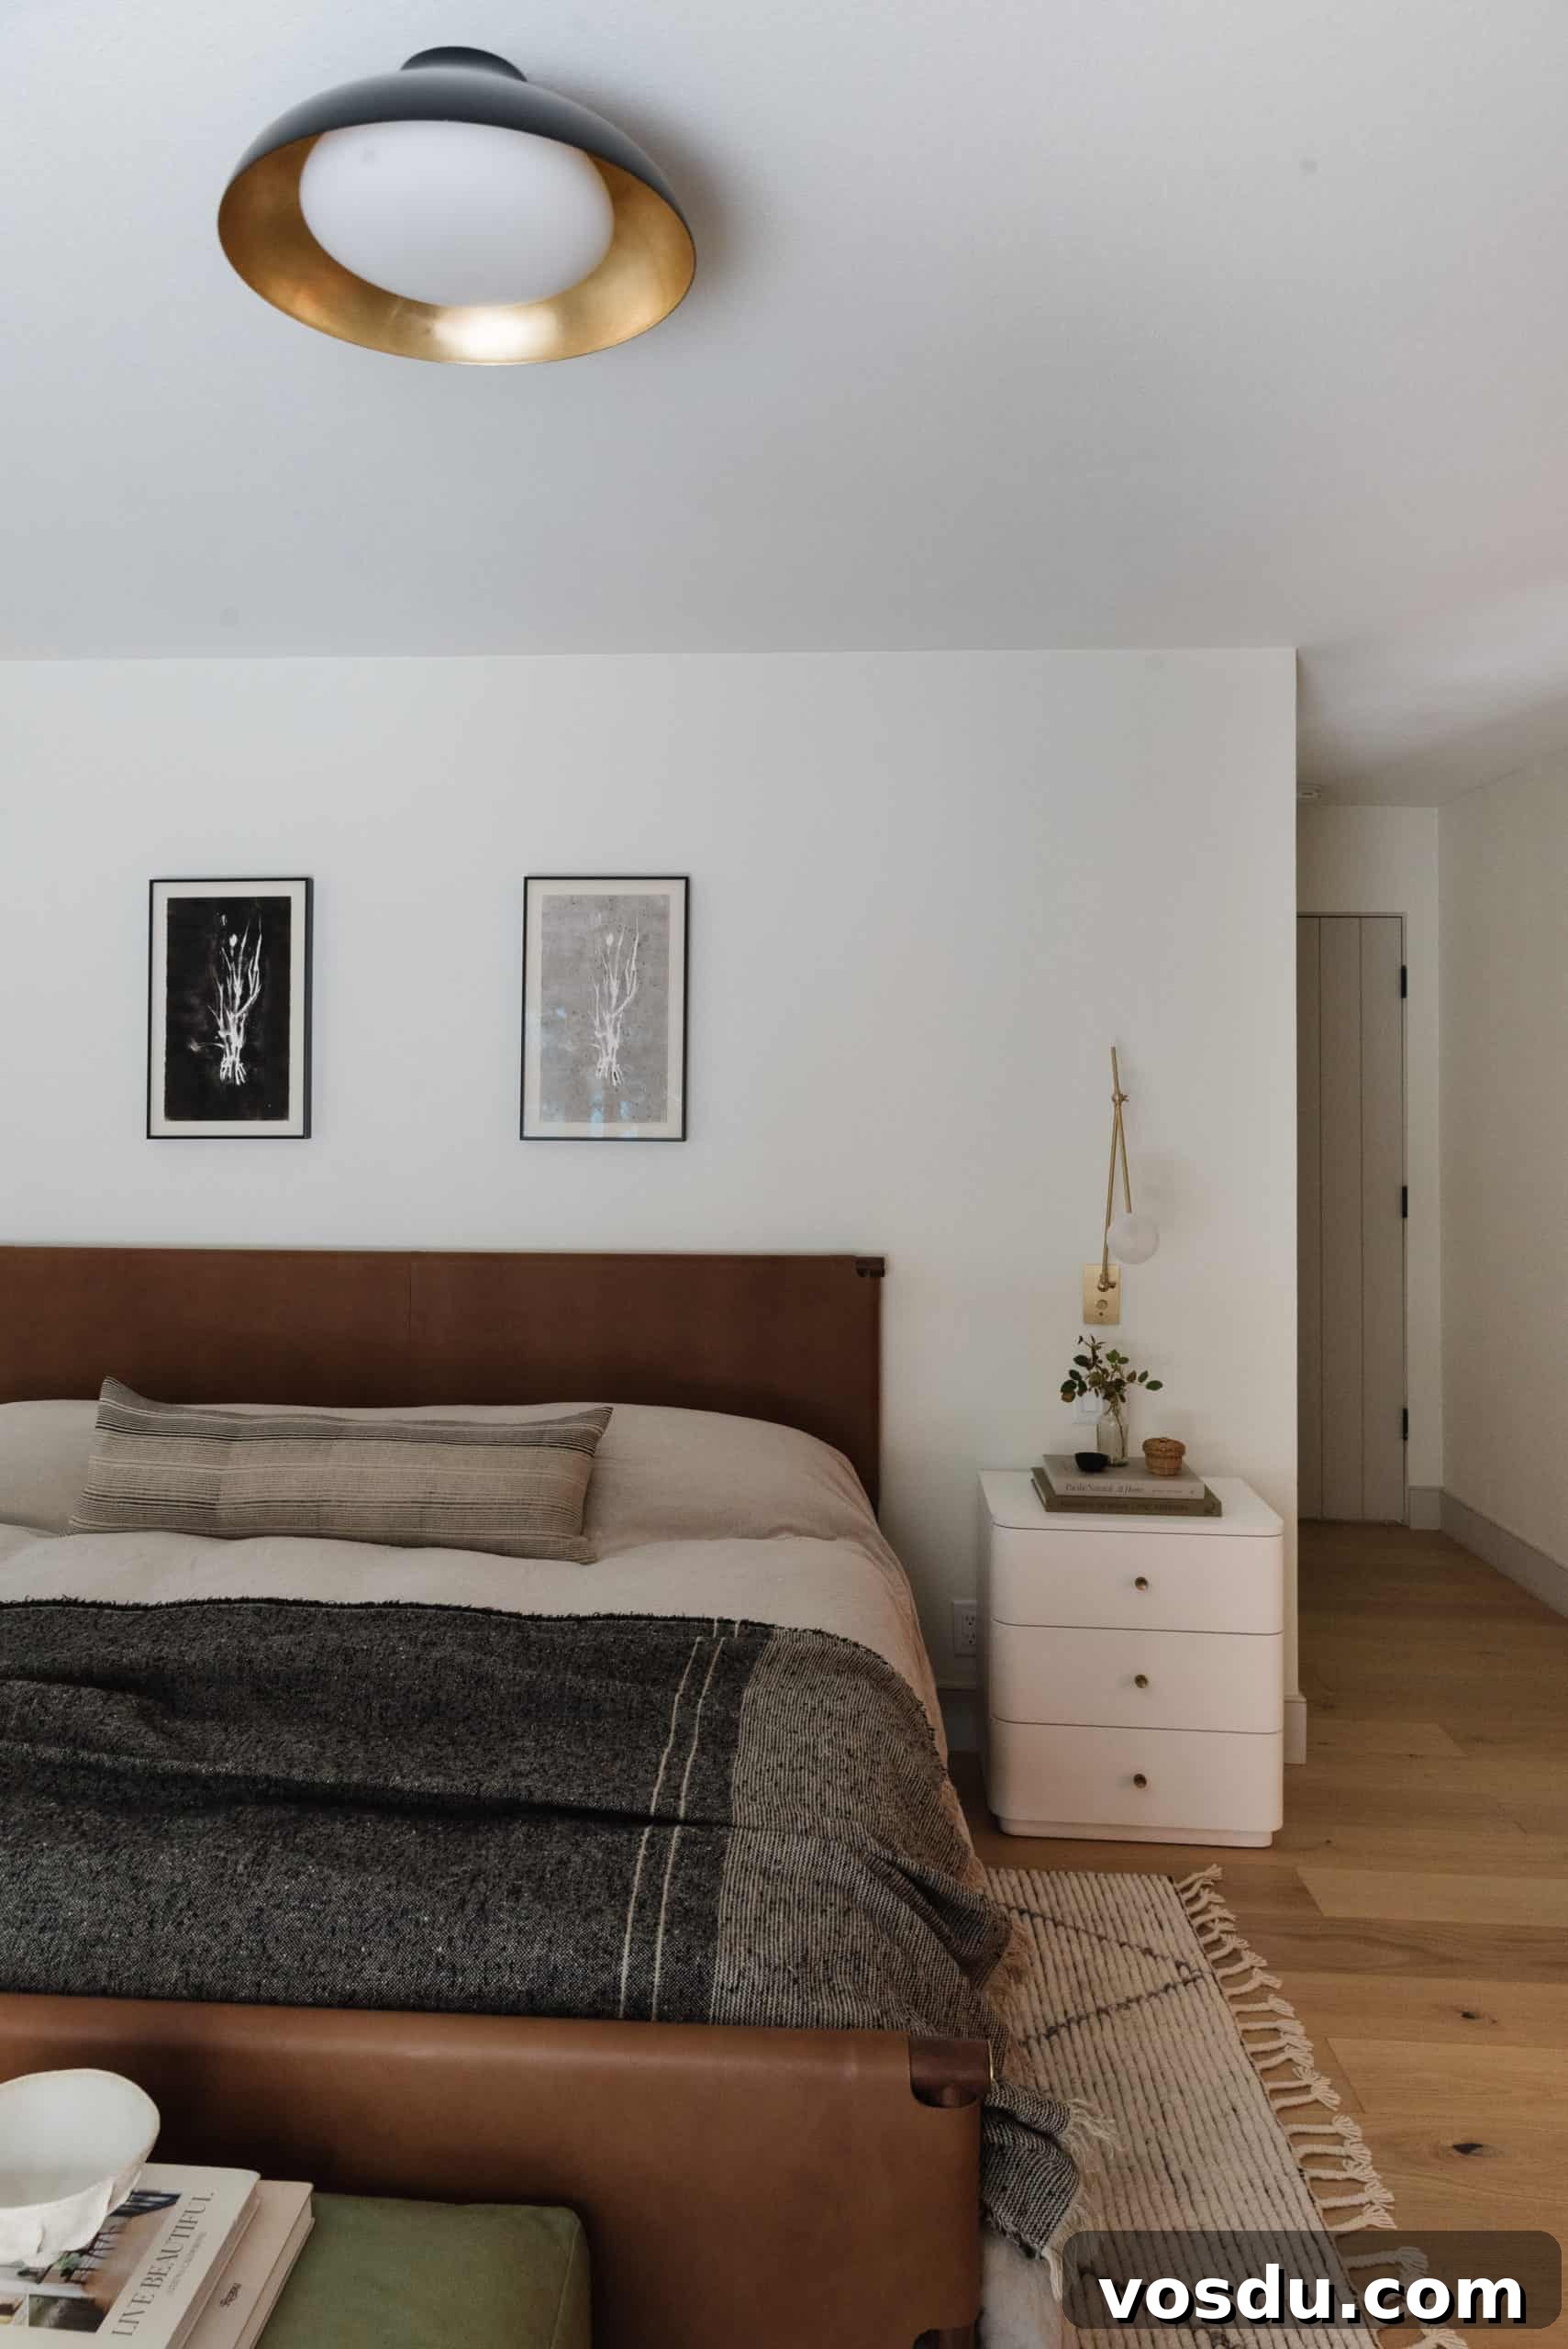
As an interior designer, one of my favorite spaces to design is the bedroom. A well-designed bedroom gives you a comfortable retreat to recharge after a busy day and creates a sense of calm and restoration in your home.
In this post I’m sharing practical and beautiful bedroom design tips and tricks I use in my projects. These ideas will help you create a restful, hotel-quality feel so your bedroom becomes a true personal oasis.
Coming home and cozying up in your bedroom after a long day should feel like a treat. With thoughtful planning—lush bedding, a comfortable mattress, soft drapery, layered lighting, and smart storage—you can build a space that invites relaxation and helps you unwind.
Below are designer-tested steps to guide you through the process from inspiration to the finishing details. Follow each stage to ensure your final room looks polished, functional, and tailored to your lifestyle.
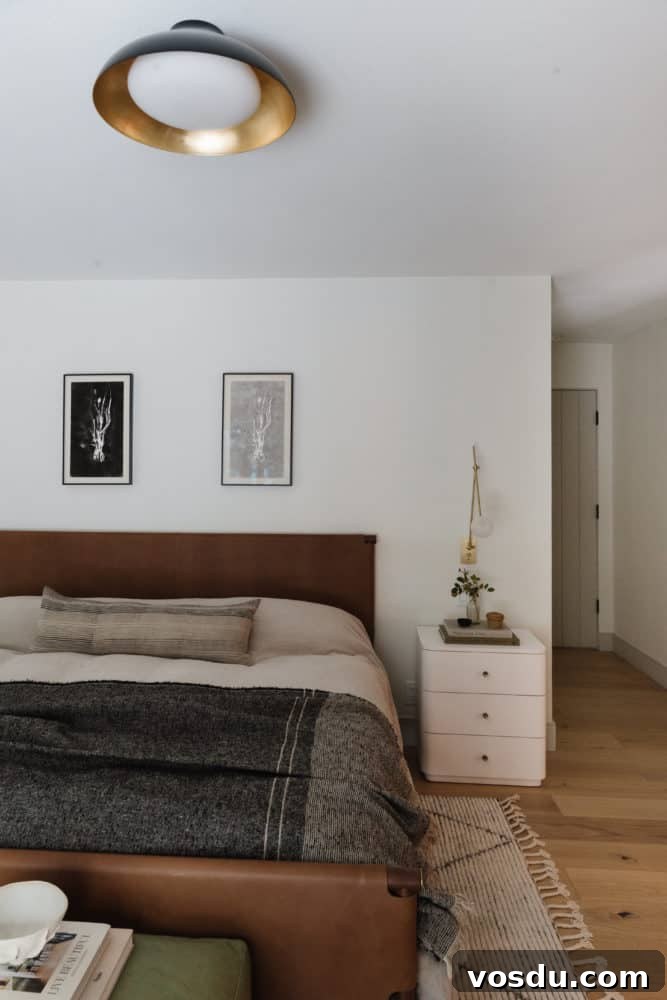
Table of contents
- Step 1: Create a Bedroom Vision Board
- Step 2: Measure the Bedroom
- Step 3: Create a Furniture Plan
- Step 4: Design a Color Palette
- Step 5: Choose your Furniture and Lighting
- Step 6: The Final Details
- Explore all about Paints and Finishes
- Little Black Book of Color
Step 1: Create a Bedroom Vision Board
This is one of the most enjoyable parts of designing any room. Start by collecting images that resonate with you—magazines, design books, Instagram, Pinterest, or simple web searches. Focus on looks that consistently catch your eye.
Gather your favorites into a single mood board using Pinterest, Canva, or a physical board. As you compile images, identify recurring elements: the lighting, textures, color palettes, or overall mood. Those common threads will form the foundation of your design direction.
At this dreaming stage, let yourself explore different styles and combinations. The goal is to clarify an overall vision that you can translate into practical steps for your room.
Step 2: Measure the Bedroom
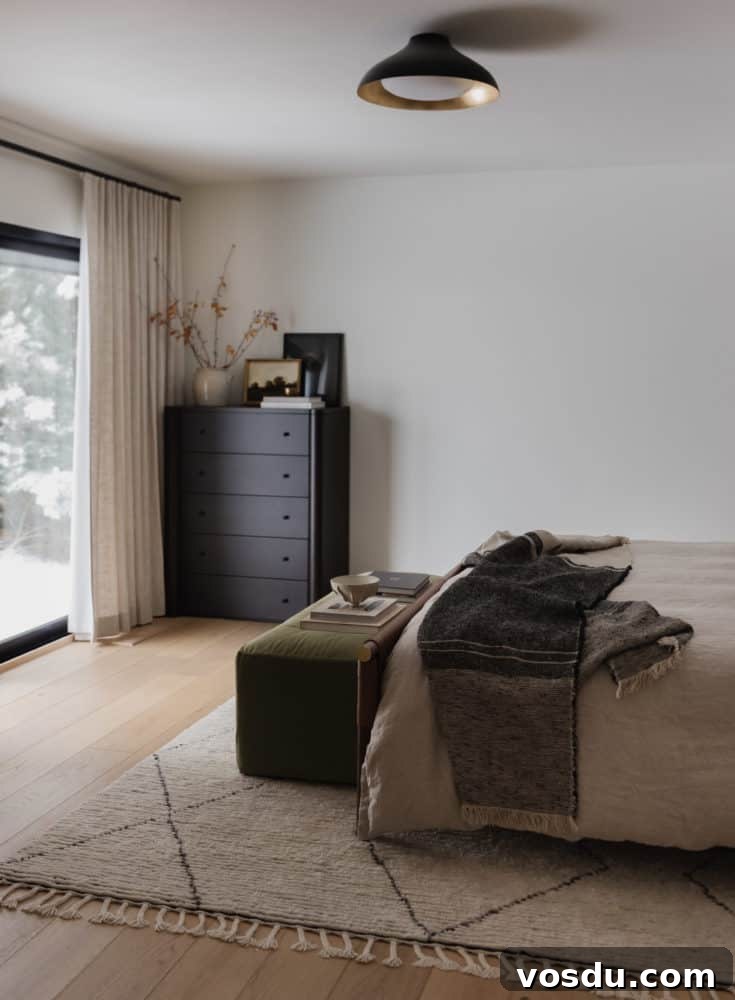
Accurate measurements are essential. Measure the room’s length and width, ceiling height, and note the exact locations and heights of windows and doors. Check how doors swing and whether any architectural features affect furniture placement.
Use graph paper and a pencil to draw the room to scale. Mark fixed elements like radiators, closets, and light switches. This scaled drawing will make it far easier to plan furniture sizes and circulation paths without surprises.
Measuring carefully saves time and prevents costly mistakes later—especially when deciding whether larger pieces, like a king-size bed, will fit comfortably with adequate walking space.
Step 3: Create a Furniture Plan
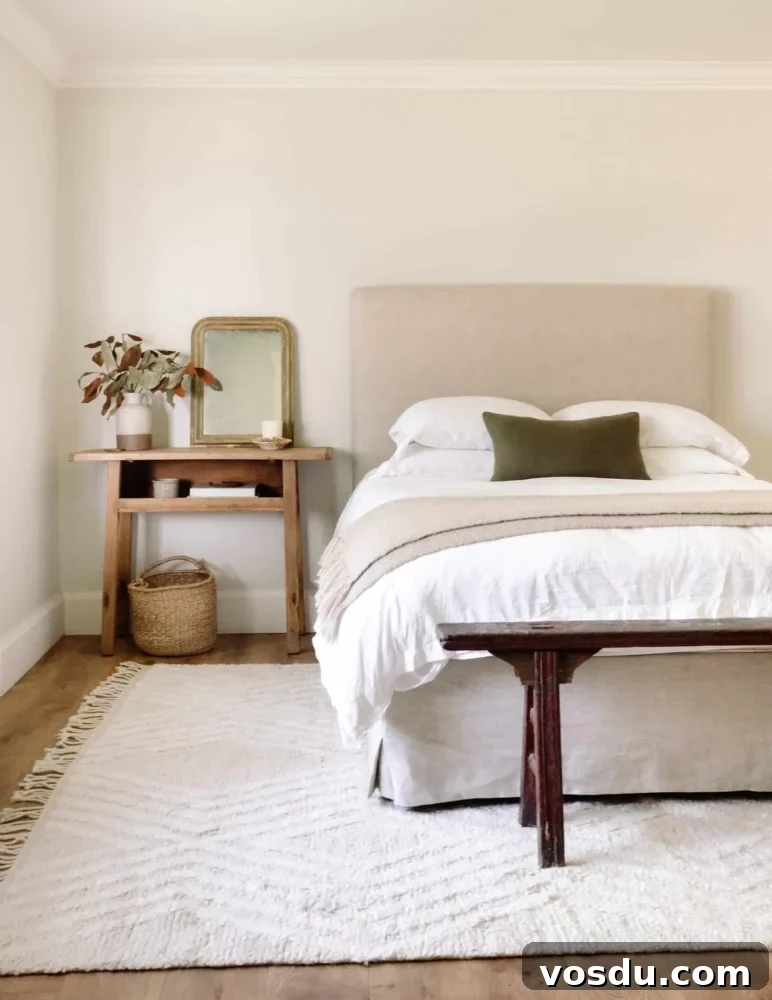
With a scaled floor plan in hand, start by placing the bed—the largest and most important element. Leave at least 36 inches of clear walkway where possible so the bed feels accessible and rooms flow comfortably.
Add nightstands, a dresser, and any seating or benches you want. Consider circulation when doors and drawers open, and ensure there’s room to make the bed and use storage without bumping into furniture.
If space is tight, prioritize multipurpose pieces like dressers with wide tops for display or a bench with storage. Planning at this stage prevents overcrowding and helps create a balanced layout.
Step 4: Design a Color Palette
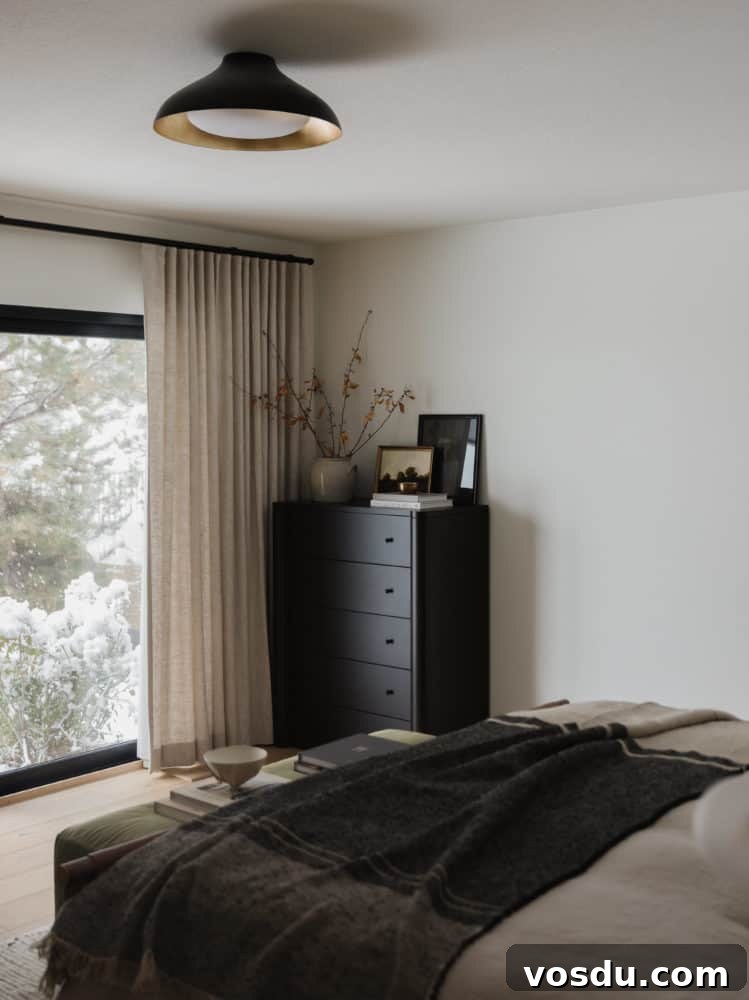
Choosing a color palette is one of the most rewarding steps. Decide which element will be your star—often bedding, a rug, wallpaper, or a major piece of furniture—and build the palette around it.
If your bedding is patterned or colorful, let that guide paint, rug, and accessory choices. If you prefer neutral bedding, select a rug, artwork, or window treatment to introduce color and character.
Although paint is often the first impulse, consider it last. Picking paint after you’ve chosen your textiles and main furnishings ensures colors work together harmoniously and prevents costly recoloring later.
Use the color wheel to mix complementary, analogous, or monochromatic schemes. For example, green bedding can be paired with subtle red accents for contrast, or with various greens and yellows for an analogous feel. Introduce color in small doses through pillows, throws, and art for flexibility.
Design tip: If you have a sage comforter, add a pillow with cream and muted brick tones to bring warmth and depth to the palette. Subtle color accents can be woven through textiles, objects, and art to create cohesion.
Step 5: Choose your Furniture and Lighting
Now that you know what dimensions and styles will fit, shop for furniture that matches your plan and budget. Measure delivery and clearance requirements so pieces arrive and fit as expected.
If you’re on a budget, check local resale sources or repurpose pieces from other rooms. Refinishing or reupholstering can give a favorite item a fresh, updated look while keeping costs down.
Vintage, handmade, or secondhand pieces add character and personality. Mix them with new items for a layered, collected feel that looks considered rather than matchy.
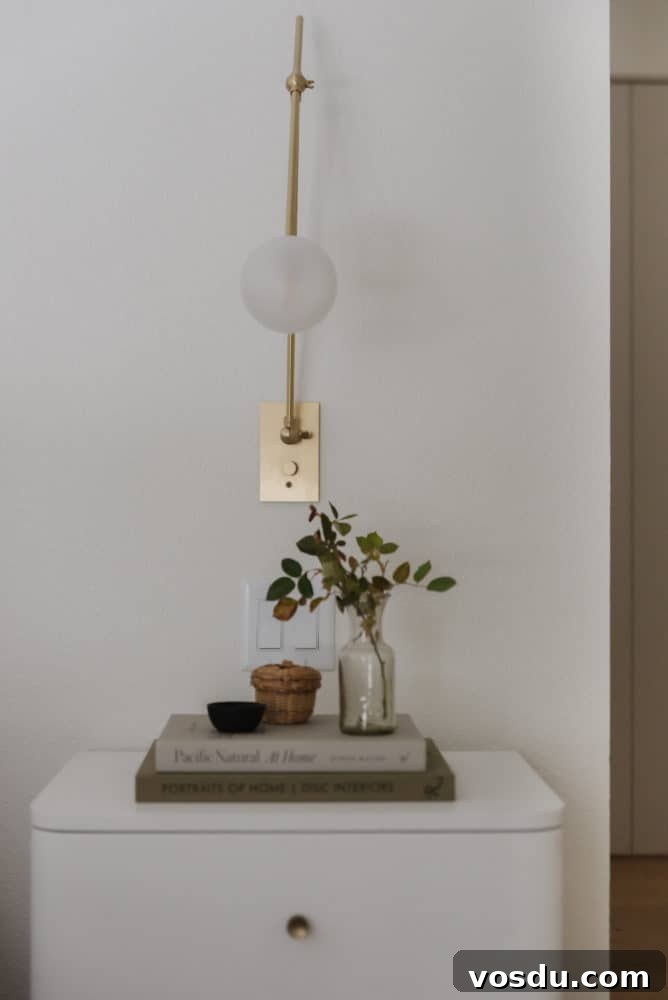
Lighting is crucial: plan multiple sources for flexibility. An overhead fixture establishes ambient light, bedside lamps or sconces provide reading light, and a dresser lamp adds task and accent lighting. Dimmers are an excellent addition to adjust mood and brightness.
Step 6: The Final Details
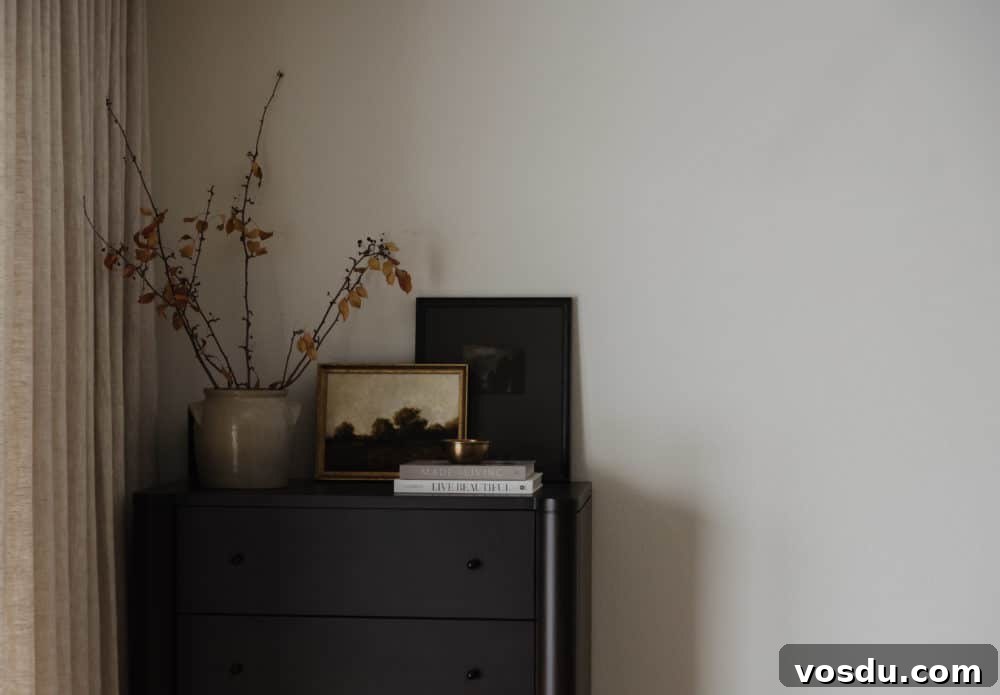
The final layer makes a room feel complete. Add artwork, layered pillows, decorative objects, and plants to bring warmth and personality. These finishing touches create depth and make the space feel lived-in and curated.
For a nightstand, aim for a balanced vignette: a light source, a small plant or vase, a couple of books, and a personal object like a frame or clock. Keep it functional and uncluttered so it remains useful at night.
Anchor the bed with a significant element—artwork, a statement headboard, or an oversized mirror. Soft, high-quality bedding and a cozy throw immediately raise the comfort level and give the room a welcoming vibe.
Design tip: Mix patterns and textures. Pair stripes with florals, add woven textures, and include metallic or ceramic accents for contrast. Texture is as important as color in making a room feel dynamic.
Window treatments soften the room and control light. Consider room-darkening curtains for better sleep and choose fabrics that coordinate with your palette. Proper hanging height and generous width will make windows feel larger and more elegant.
I hope these tips inspire you to approach your bedroom project with confidence. If you prefer professional help, our design team offers virtual and full-service design options to guide you through every step and help you create a cohesive retreat tailored to your needs.
Explore all about Paints and Finishes
Paint and finishes dramatically influence mood and perception in any room. Explore articles and guides focused on color trends, paint selection tips, and recommended finishes for both interiors and exteriors. Use these resources to refine your palette and choose durable, beautiful finishes that suit your lifestyle.
Suggested reading: Designer’s Review: Sherwin Williams Pure White SW7005; The Best Red Paint Color Ideas to Transform Your Space; A Designer’s Guide to the Best Warm White Paint Colors; How to Choose the Best Interior Paint Colors for Your Home; A Green Bathroom Remodel You’ll Love.
Instant download
Little Black Book of Color
Download our free paint guide for expert guidance across your entire home. This 30-page guide helps you create a cohesive, elevated palette and choose finishes that work together from room to room.
The Boxwood Avenue paint guide is designed to help you achieve a thoughtfully coordinated home palette with practical tips and color pairings.