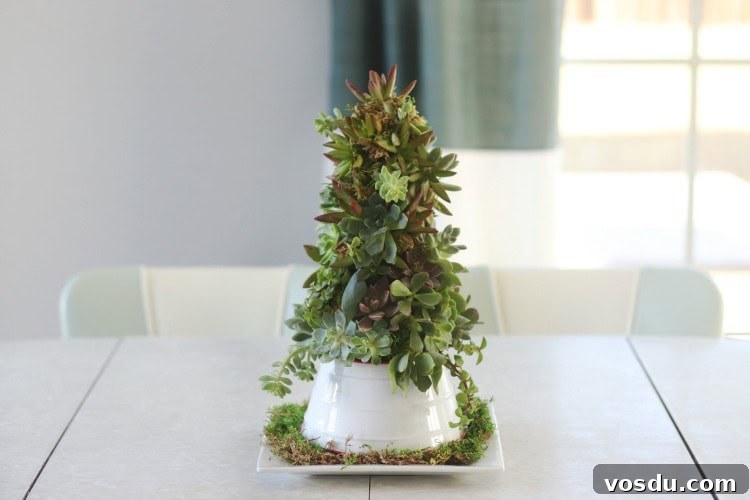
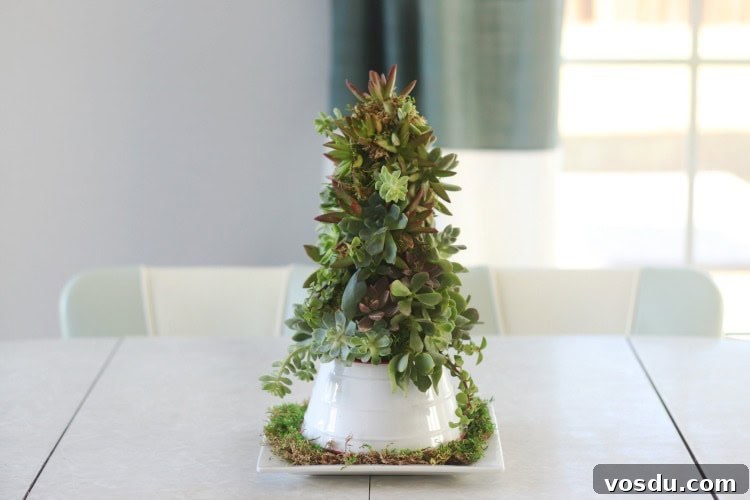
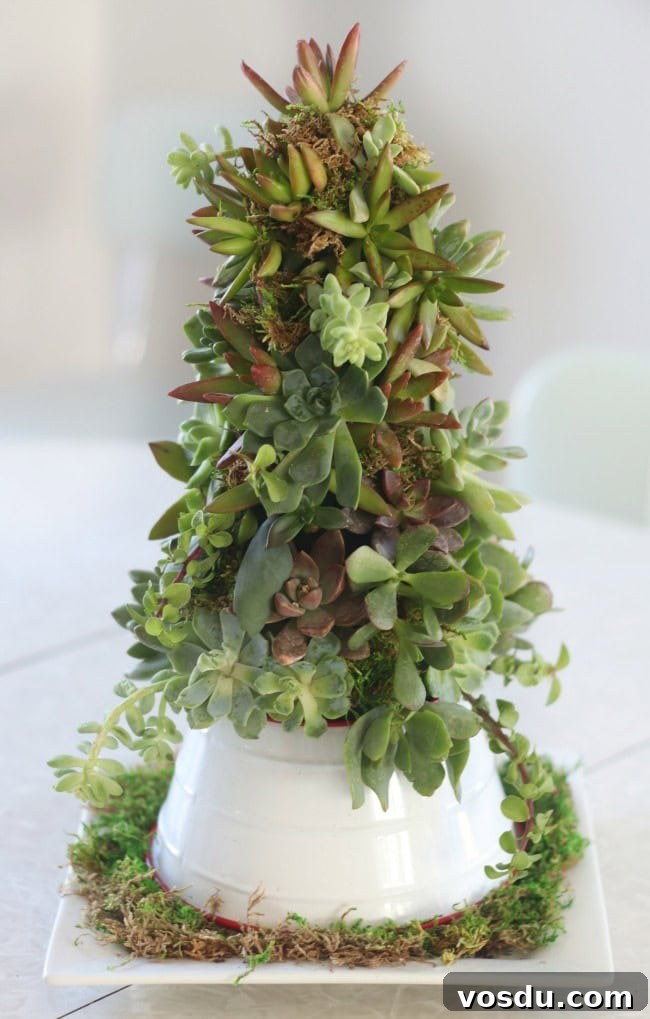
A tree that will stay fresh all season long. This succulent Christmas tree brings a cheerful splash of color to any table. Built from floral foam and succulent cuttings, it’s a quick, easy project that makes a lovely centerpiece.
Watch our step-by-step video
I wanted a creative distraction and decided to start holiday decorating early with this compact succulent Christmas tree centerpiece. It’s small enough for a dining table, a side table, or an apartment living space, and it delivers a vibrant, living focal point for the season.
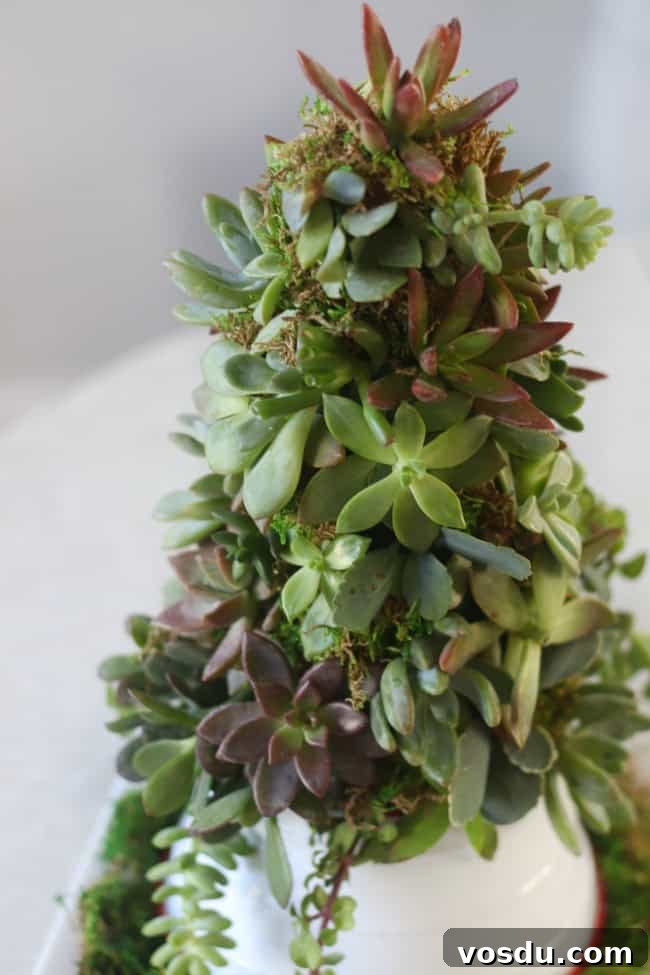
Many of the cuttings used here began as small plants and cuttings from previous projects. If you already grow succulents or have small arrangements, you can often trim several usable cuttings from a single plant. Smaller, younger cuttings are ideal for covering a floral foam cone and creating a dense, layered look.
Succulent Christmas Tree
The tree can be assembled in different ways: using a cone of floral foam, a wire frame filled with moss, or even faux succulents on a foam form. For a living centerpiece that will remain fresh through the holidays, I used a wet floral foam cone and real succulent cuttings. The result is a lively, natural tree that looks great up close.
Supplies for a Succulent Christmas Tree
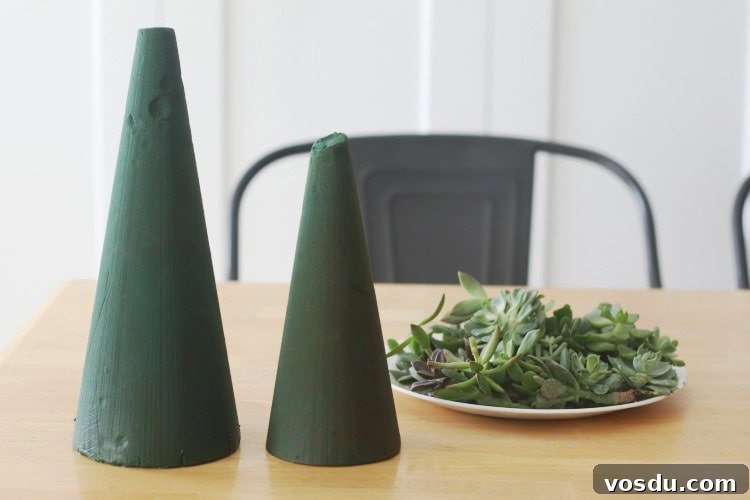
Wet floral foam
I used Oasis floral foam shaped as a cone. You can choose a 9″ or a 12″ cone depending on how tall you want the tree. If you pick a 12″ cone and later decide it’s too tall, it’s easy to trim a few inches with a serrated knife. For this project I used a 12″ cone combined with a small decorative tree collar around the base, which effectively reduced the visible surface area to about a 9″ cone.
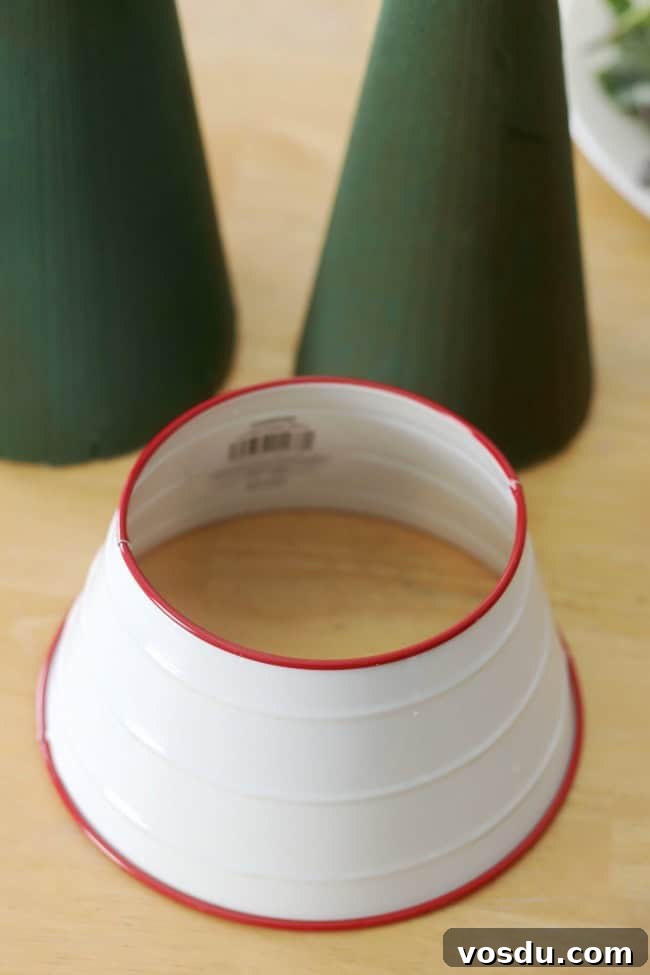
If you leave the cone full height without a collar, plan to use more succulent cuttings to cover the surface.
Soaking the floral foam
Wet floral foam is easier to work with because cuttings stick more securely and it helps the stems stay hydrated. To prepare the foam, set the cone in a sink or bucket of water and let it sink naturally; don’t force it down. When fully saturated it will be heavy and waterlogged.
Because wet foam holds moisture, some delicate succulent stems can develop mold over time. Succulents tolerate low water well, so if you prefer to minimize mold risk, you can build the tree with dry foam — though it’s firmer and slightly harder to insert cuttings into. If you use dry foam, a dab of hot glue on the base of each cutting will help secure it without harming the plant.
Place the soaked cone on a plate, saucer, or the actual display base to catch any dripping water while you assemble the tree.
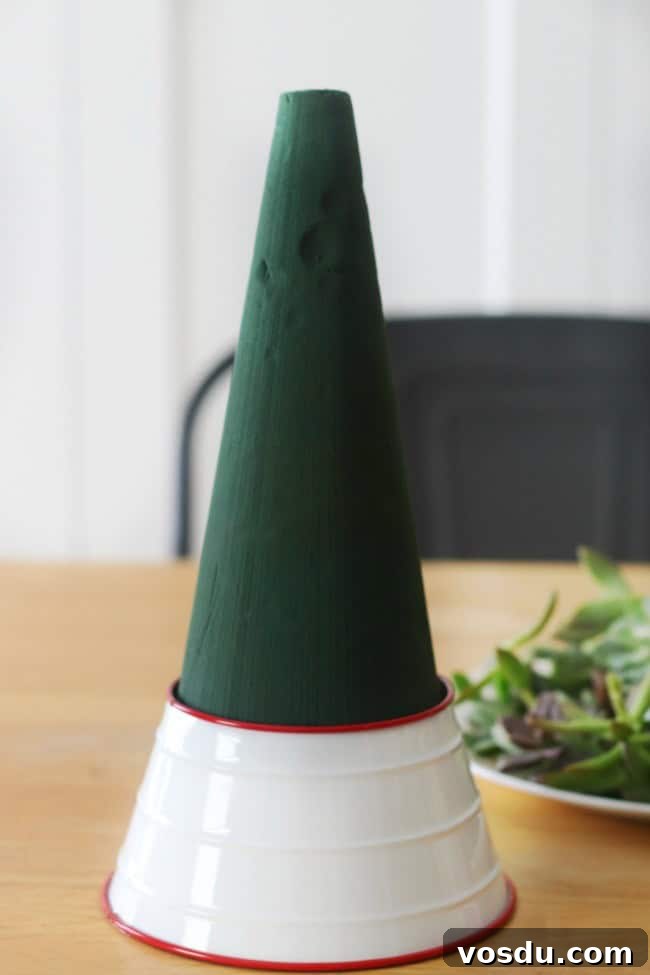
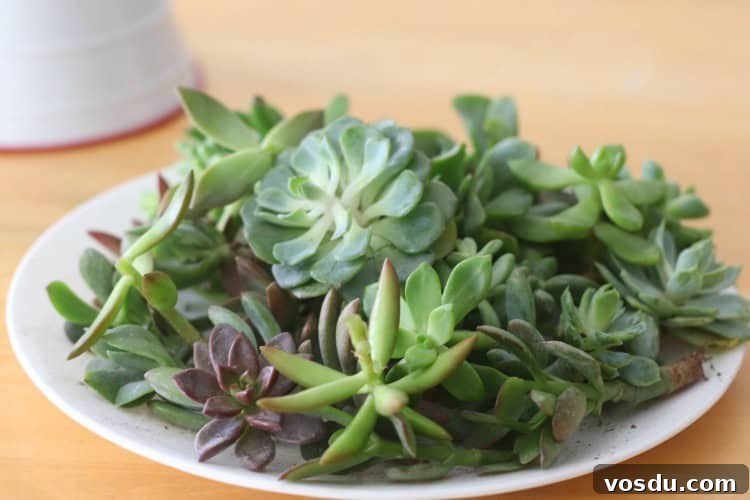
Succulent cuttings
For a 9″ tree plan on about 30 to 35 succulent cuttings. You don’t need to buy that many individual plants — many small succulents can be split into two or three usable cuttings. Remove soil and gently clean the stems, preserving as much stem length as possible so you can insert them into the foam. If stems are short or thready, push a toothpick into the stem base to give it structure and make insertion easier. Thicker stems can be inserted directly or also supported with a toothpick if needed.
Moss
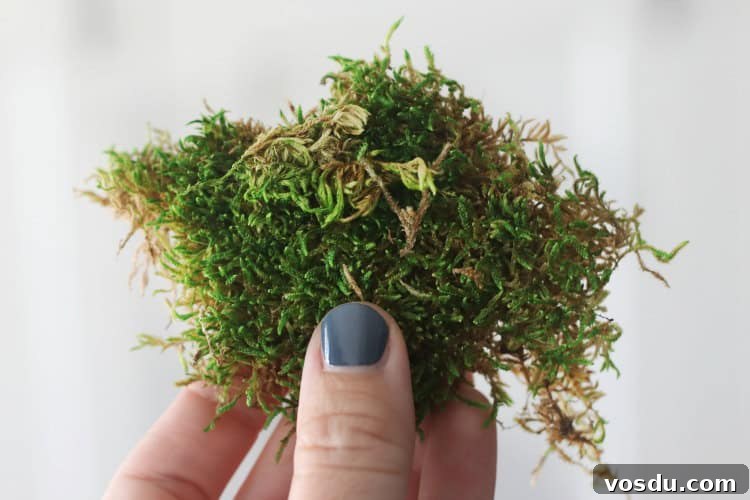
Green foam helps hide minor gaps, but moss is useful for filling spaces, disguising any exposed foam, and preventing succulent leaves from touching the moist foam surface directly. Sphagnum moss is ideal, but sheet moss works well and is widely available. Tuck moss into gaps and spaces between cuttings to steady the stems and finish the look.
How to assemble the tree
1. Decide the height you want and trim the cone if necessary. If using wet foam, soak the cone fully before beginning. Let it absorb water naturally while placed in a sink or bucket.
2. Prepare succulent cuttings by removing soil and trimming stems to a usable length. Preserve as much stem as possible for insertion. Use toothpicks to support short or thick stems.
3. Use a thin dowel, chopstick, or paintbrush handle to gently poke a small pilot hole into the foam before inserting each cutting. The hole should be slightly smaller than the cutting’s stem so it fits snugly.
4. Work from the bottom up, inserting cuttings and alternating sizes and varieties for a balanced, layered appearance. Fill gaps with moss and tuck it under some cuttings to add stability and hide the foam.
5. Place the finished cone on a platter, plant saucer, or shallow planter to protect your furniture from moisture. Add extra moss or decorative elements around the base as desired.
Care and display
Keep the tree in a bright spot and rotate it every few days so all cuttings receive light. If the foam was soaked, you generally should not water the tree; the foam will provide moisture. If you used dry foam, lightly water the tree now and then — a syringe or small watering tool helps target the water without saturating the display.
Expect that a few cuttings may develop soft spots or mold if kept constantly moist. After the season, remove the cuttings and propagate them in well-draining succulent soil; many will root and continue to grow. Trimming away any moldy sections or broken leaves will help the remaining cuttings recover and propagate.
Materials & equipment
- 9″ or 12″ floral cone (wet or dry)
- About 30–35 succulent cuttings
- Toothpicks
- Moss (sheet or sphagnum)
- Platter, saucer, or base to protect surfaces
- Thin dowel, chopstick, or paintbrush for poking holes
Final notes
This succulent Christmas tree is an easy, living centerpiece that brightens any room and makes a charming seasonal project. After the holidays, you can reuse most of the cuttings in other arrangements or plant them in pots to grow into new plants. With simple care and a sunny spot, many of the succulents will continue to thrive and remind you of the season long after the decorations come down.