This Easter peanut butter pie post is sponsored by NILLA Wafers. All thoughts and opinions are my own.
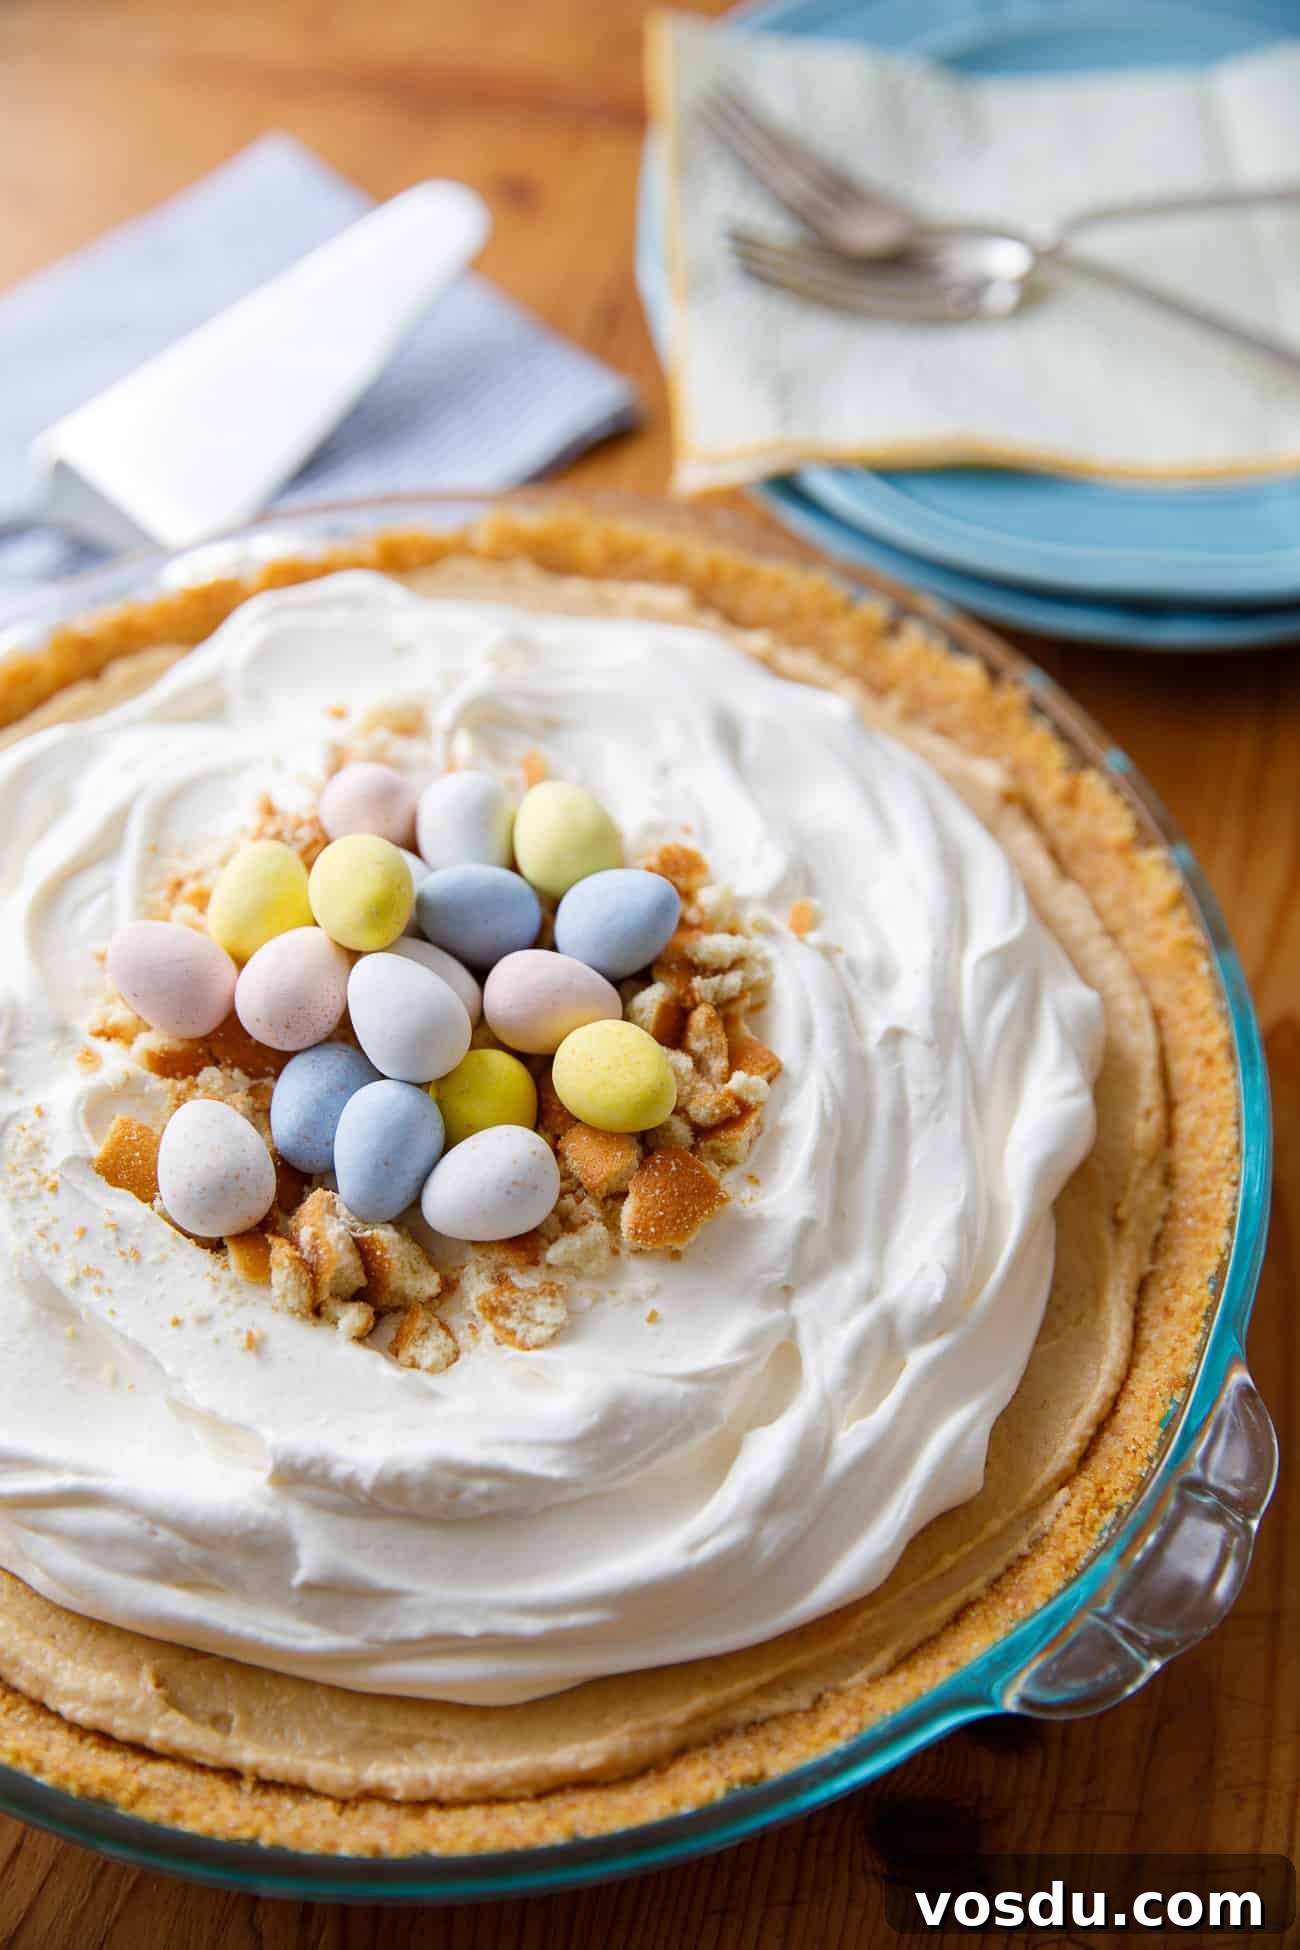
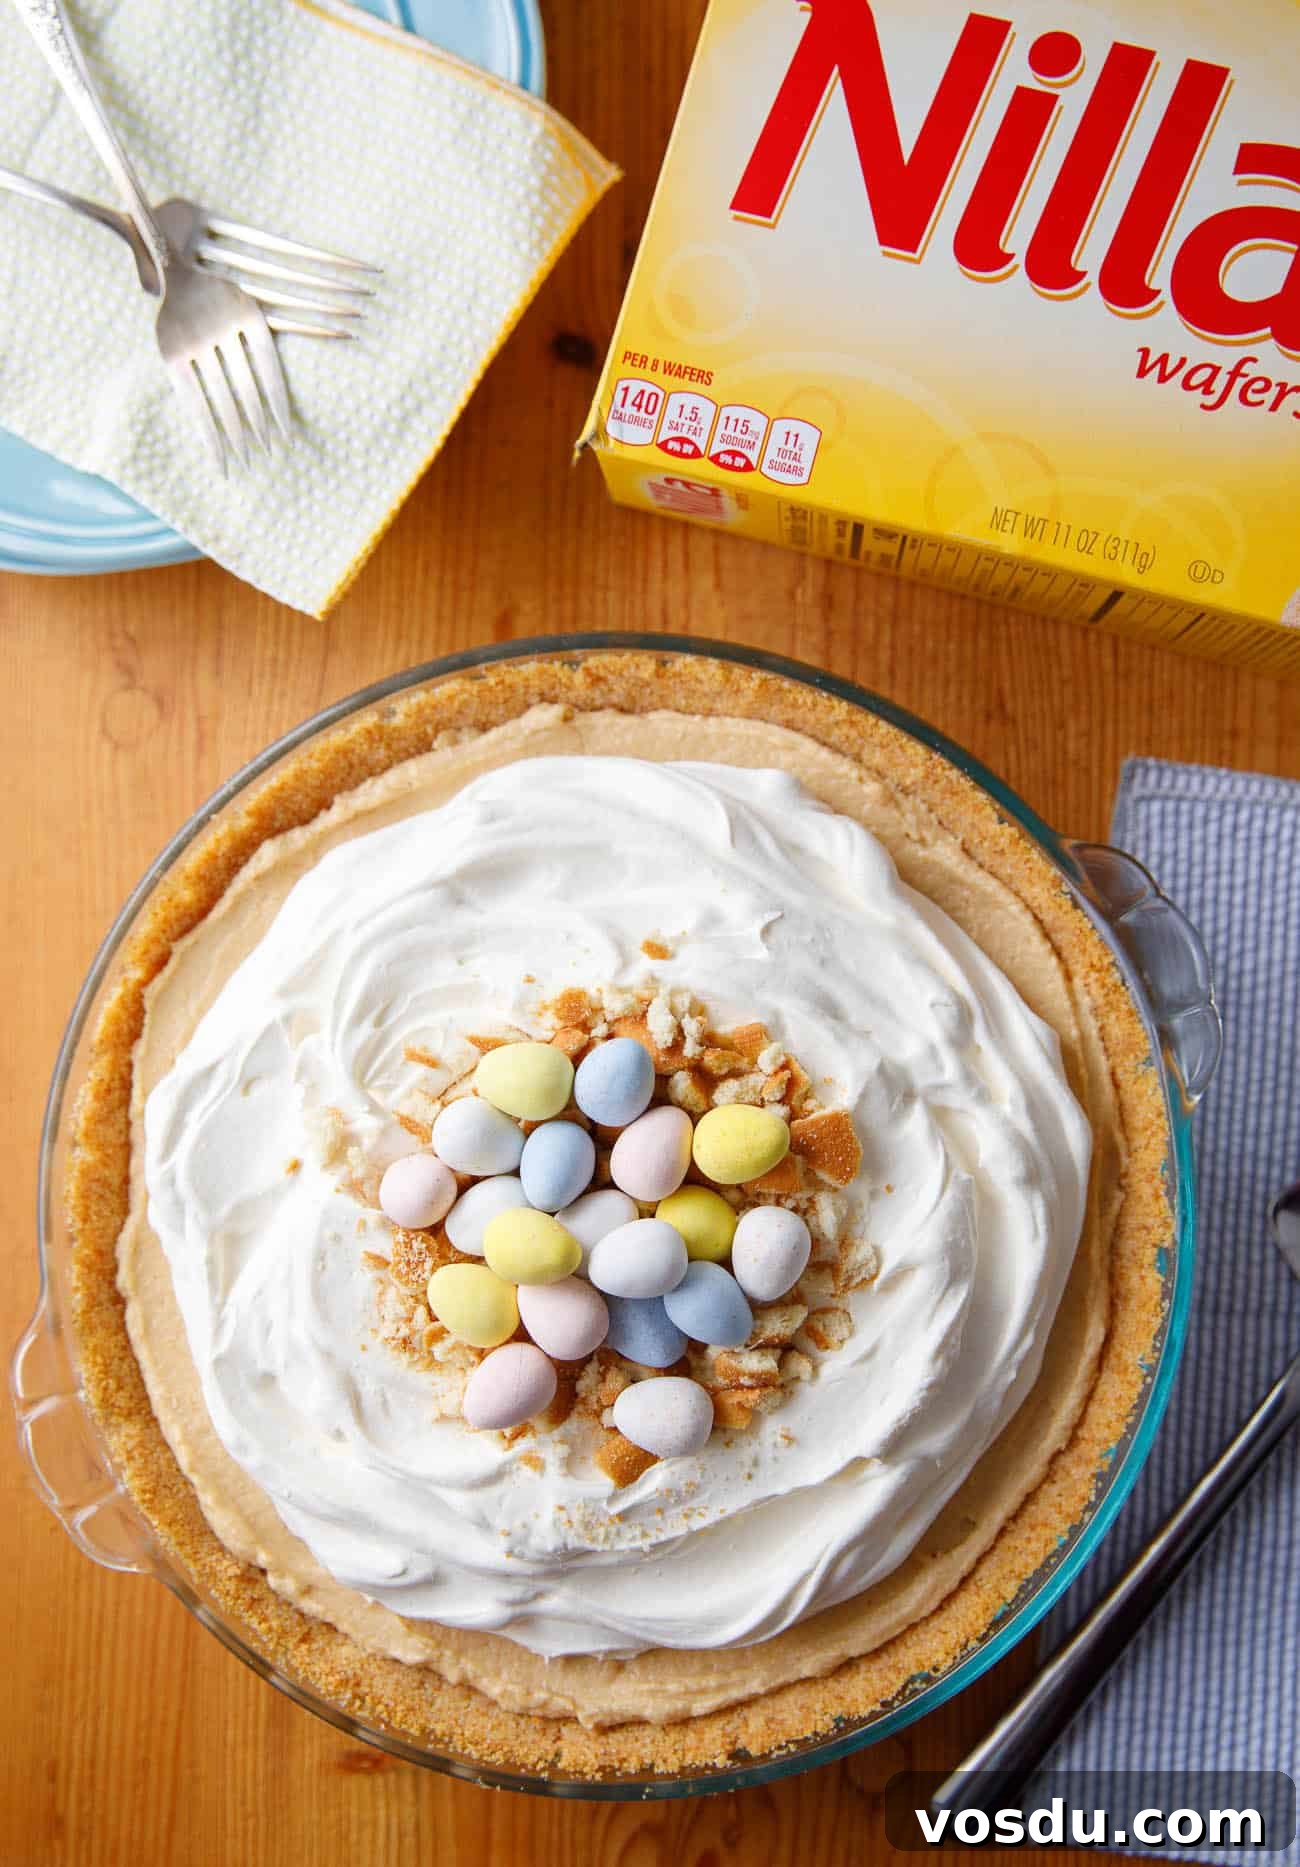
My charming Easter peanut butter pie is the perfect way to celebrate the season. Sweet, creamy, and easy to prepare, this pie sits in a crisp NILLA Wafer crust and is decorated like a little chocolate egg nest — a favorite for holiday gatherings and family celebrations.
Easter Peanut Butter Pie Recipe
I’m a big fan of peanut butter pie and often order it when dining out. After experimenting at home, I discovered a version I love even more: a lightened, no-bake peanut butter filling set in a baked NILLA Wafer crust. The vanilla flavor of the wafers pairs perfectly with creamy peanut butter for a dessert that’s both nostalgic and crowd-pleasing.
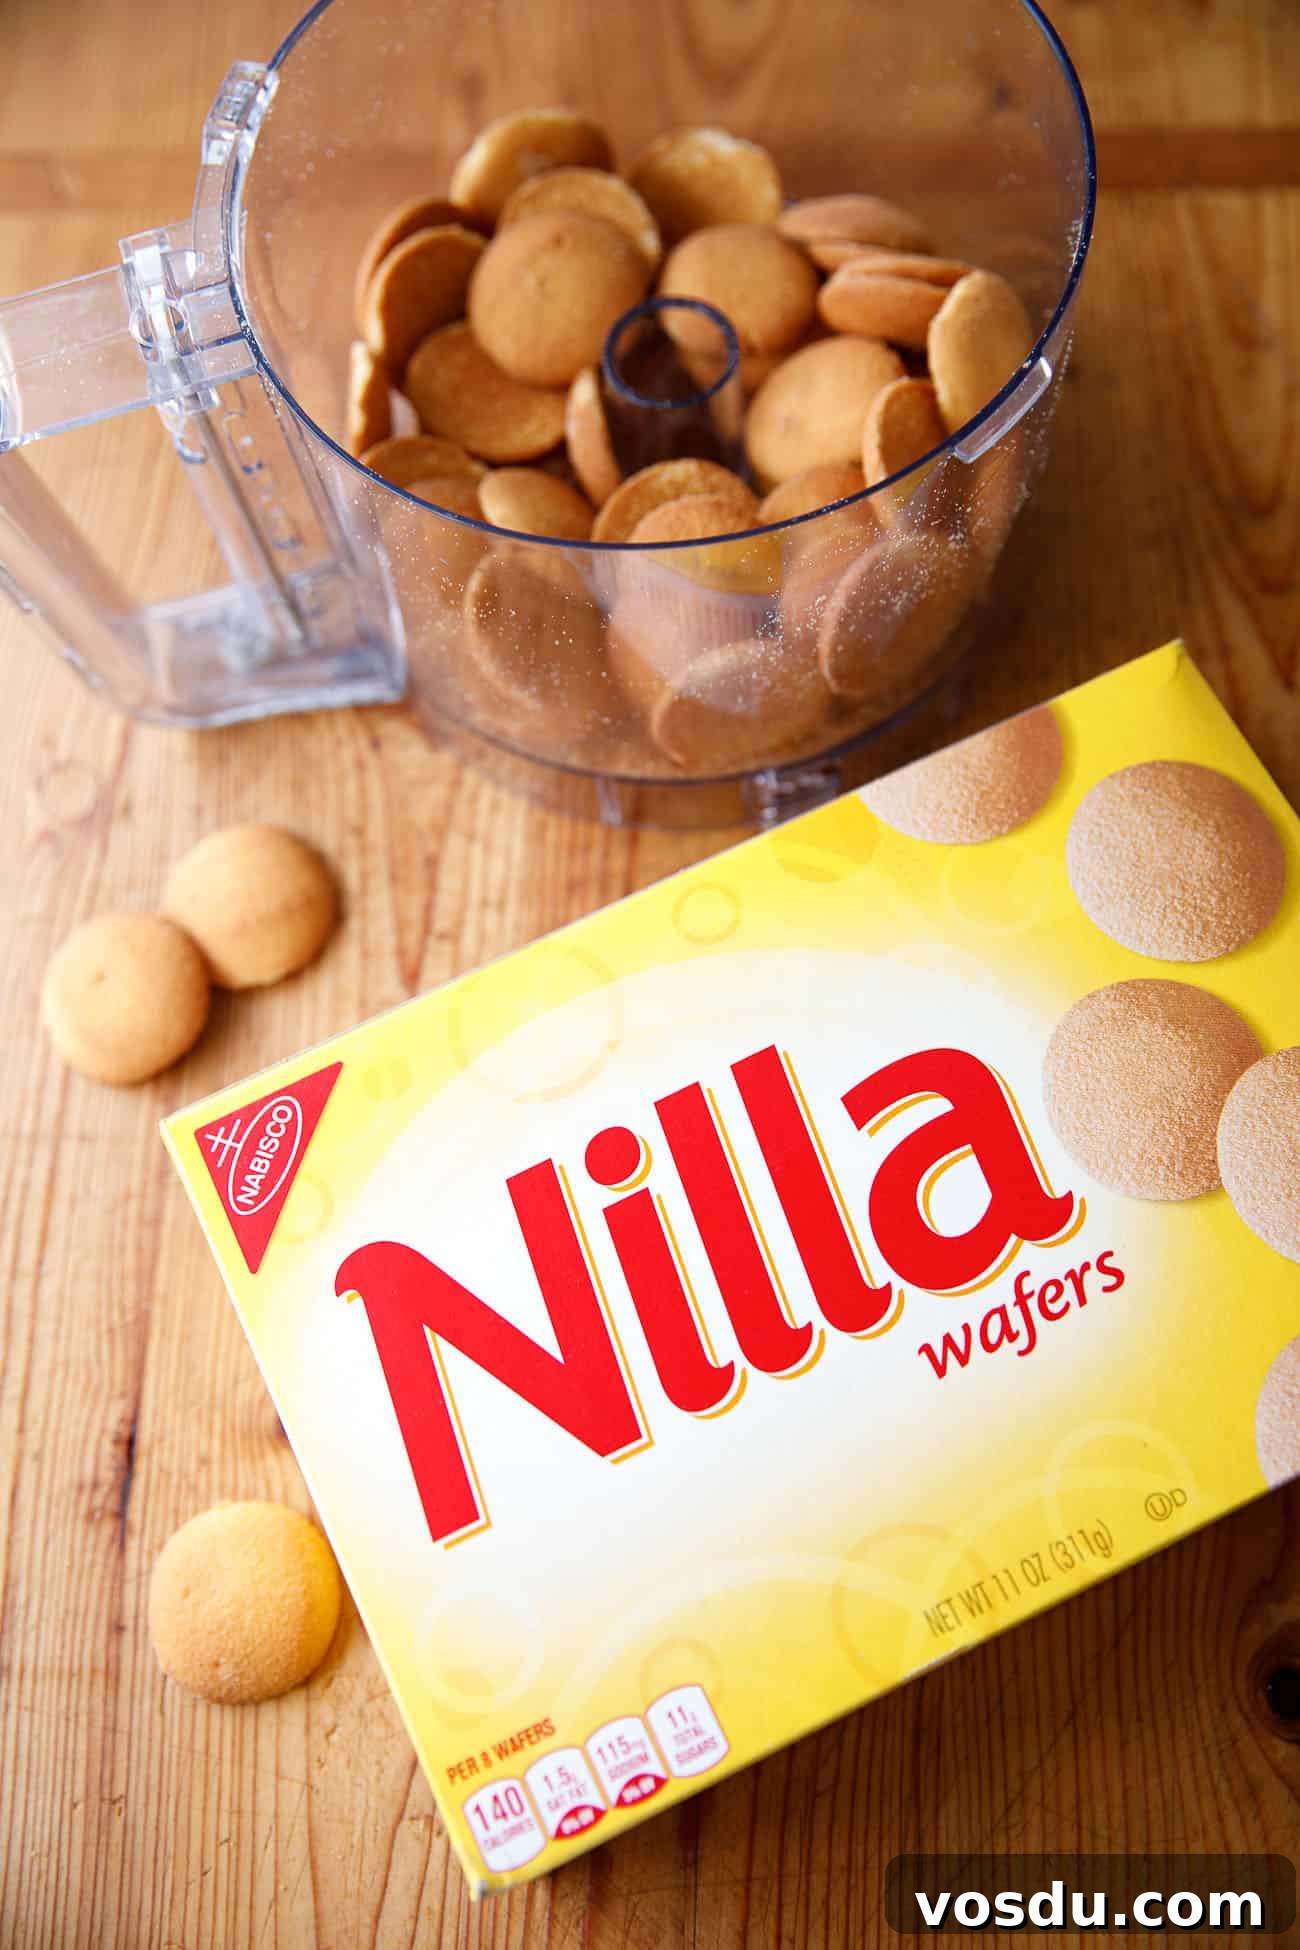
NILLA Wafers are crisp vanilla wafers with a gentle sweetness that creates an ideal base for pies and other desserts. Growing up, these cookies were always in the pantry, and they make an easy, delicious crust without any specialty ingredients. I typically find NILLA Wafers at my local grocery store.
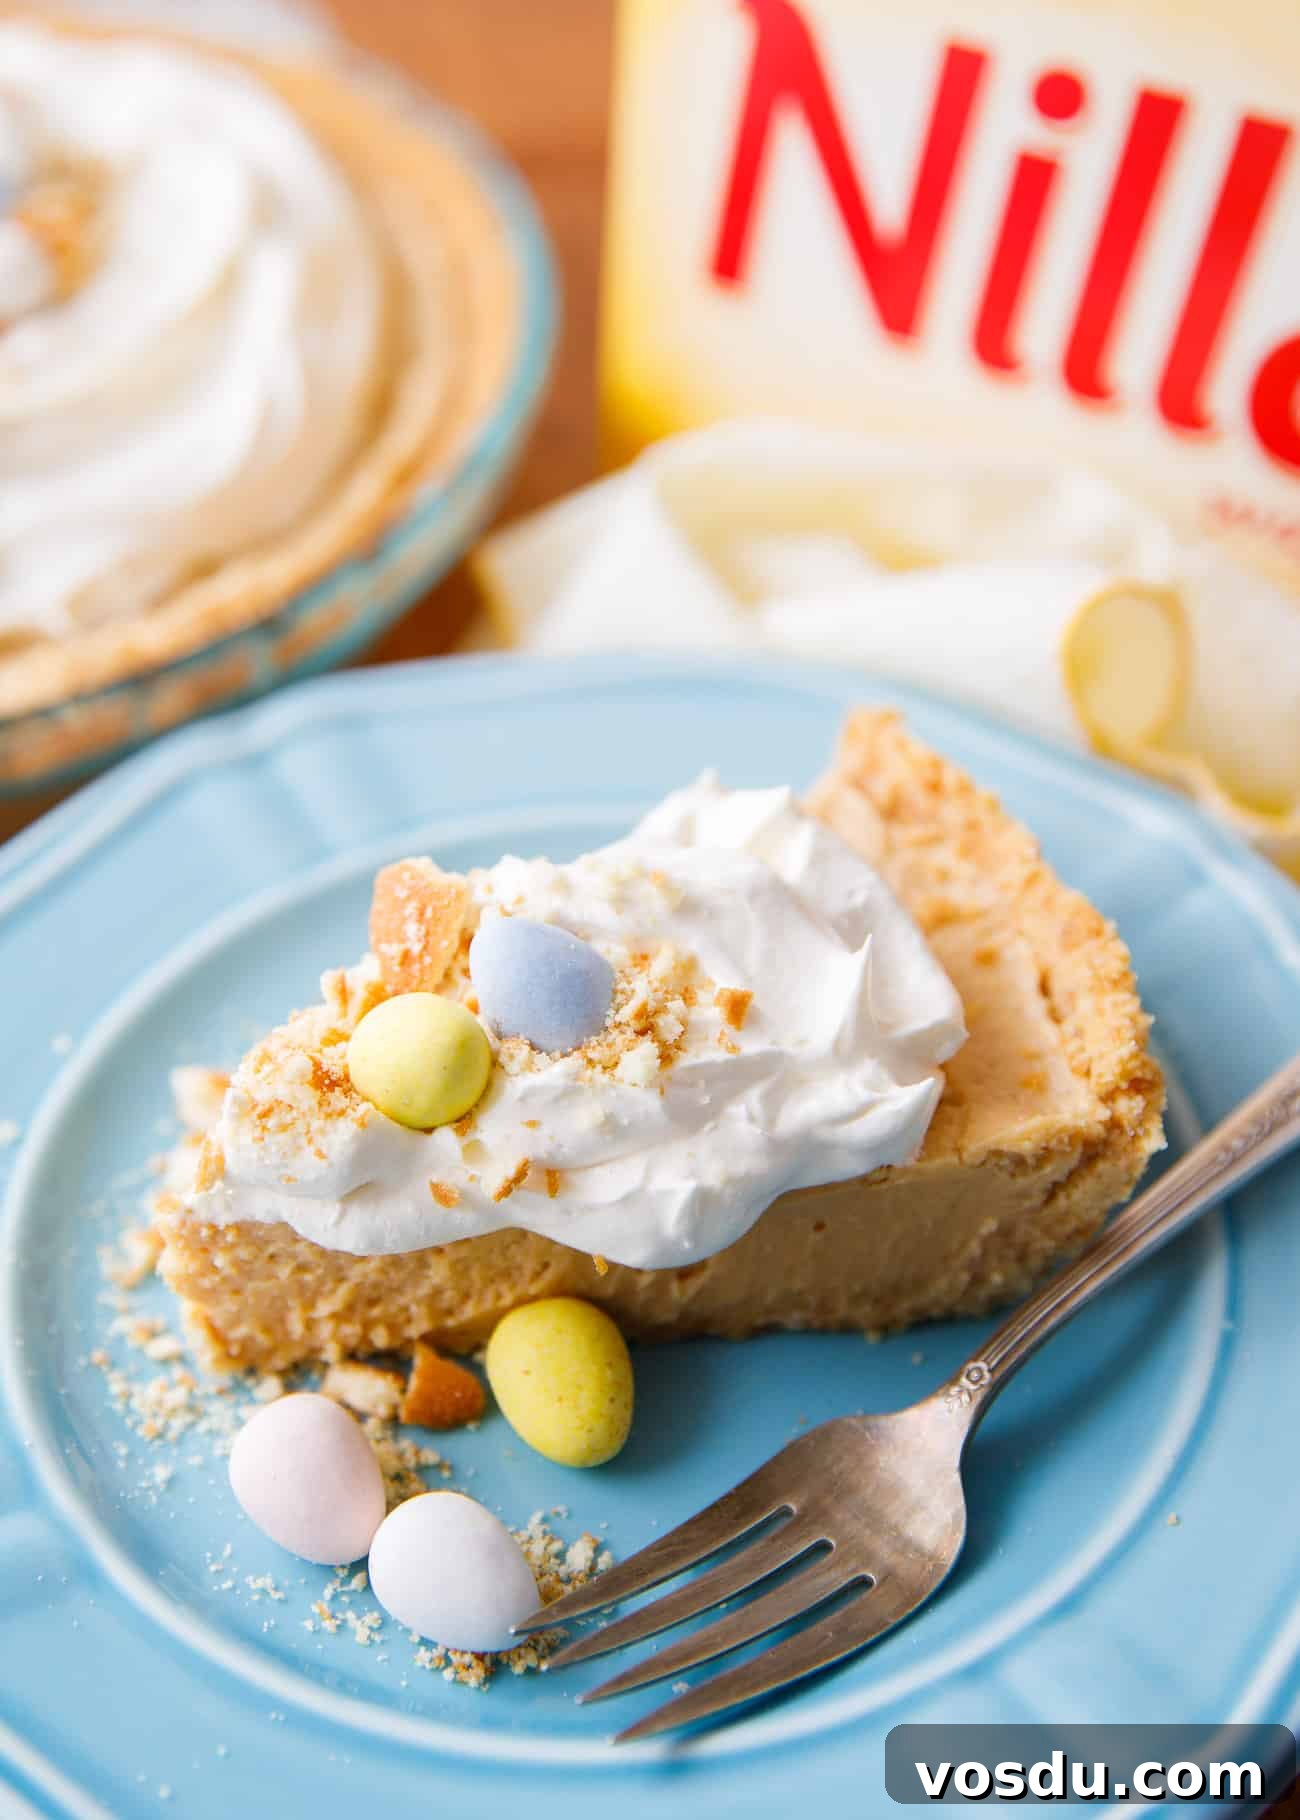
Beyond the crust, I like to use some crushed NILLA Wafers as a decorative element. For this Easter version, I crushed a few cookies and arranged them in the center of the pie to resemble a little nest, then topped the nest with candy-coated chocolate eggs. The result is festive, kid-friendly, and adds a pleasant crunch to each slice.
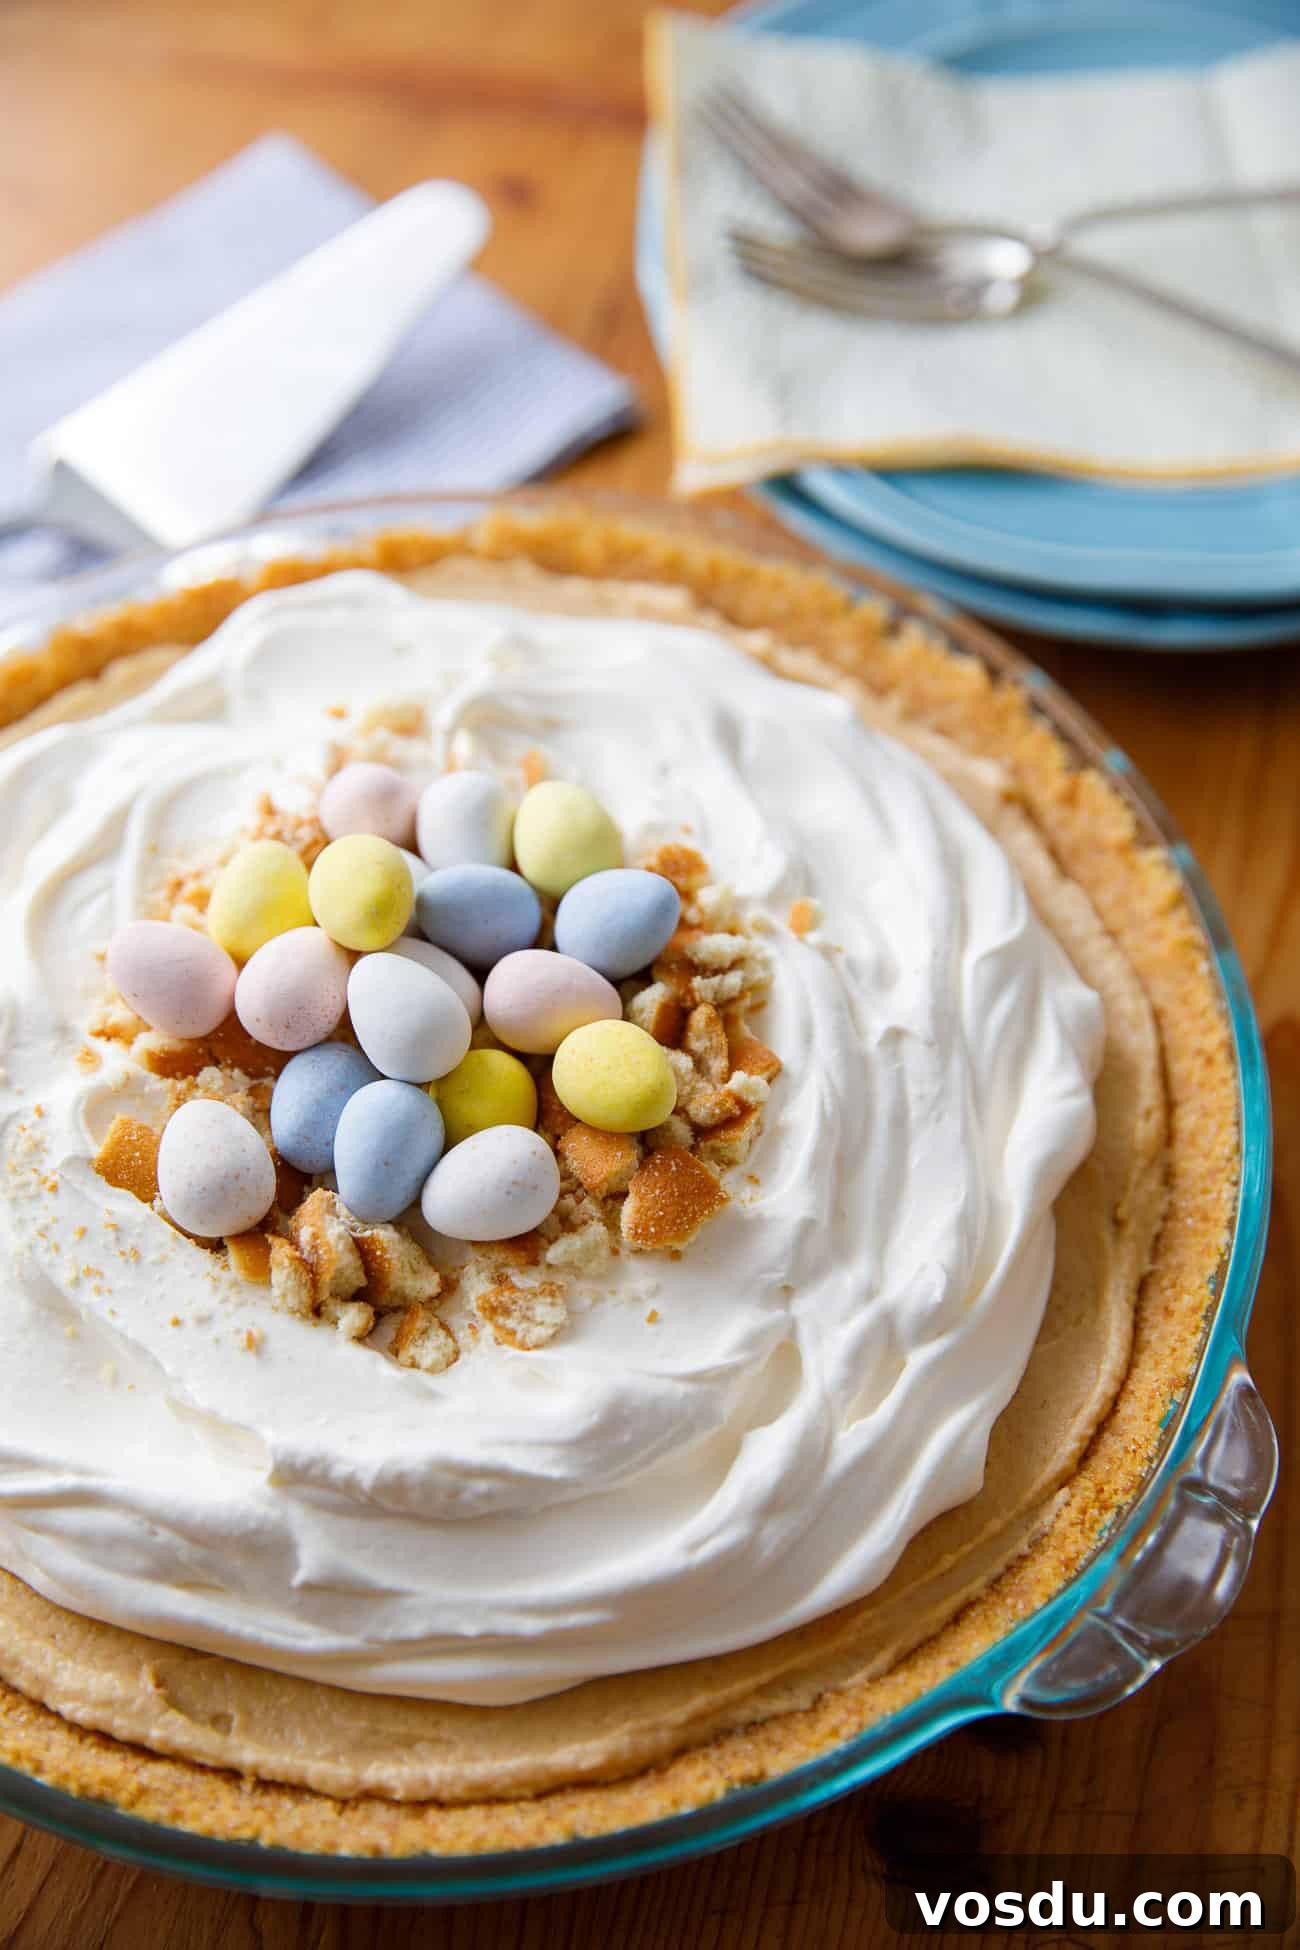
This pie is a great make-ahead dessert: prepare it the night before and chill it in the refrigerator so it’s set and ready to enjoy after Easter services or any holiday meal. It’s creamy but stable, and the chilled texture is pleasant on warm spring days.

Easter Peanut Butter Pie
Ingredients
Nilla Wafer Crust
- 60 Nilla Wafers
- 1/4 cup granulated sugar
- 1/3 cup butter melted
Peanut Butter Filling
- 1 8 oz. package cream cheese, softened
- 1 cup creamy peanut butter
- 1 cup powdered sugar
- 1 ½ cups whipped topping thawed (half a tub)
Topping
- 1 ½ cups whipped topping thawed (remaining half)
- 5 Nilla Wafers roughly crushed
- 15 candy-coated milk chocolate egg candies
Instructions
- Crust
- Preheat the oven to 350°F (175°C). Spray a 9-inch pie plate with nonstick cooking spray and set aside.
- Place the Nilla Wafers in a food processor and pulse until finely ground. If you do not have a food processor, place wafers in a sealed plastic bag and crush with a rolling pin.
- Combine the wafer crumbs, sugar, and melted butter in a medium bowl until evenly moistened. Press the mixture firmly into the bottom and up the sides of the prepared pie plate.
- Bake the crust for about 10 minutes, or until the edges turn lightly golden. Remove from the oven and allow the crust to cool completely before filling.
- Filling
- In a medium mixing bowl, beat the softened cream cheese and creamy peanut butter together until smooth and well blended.
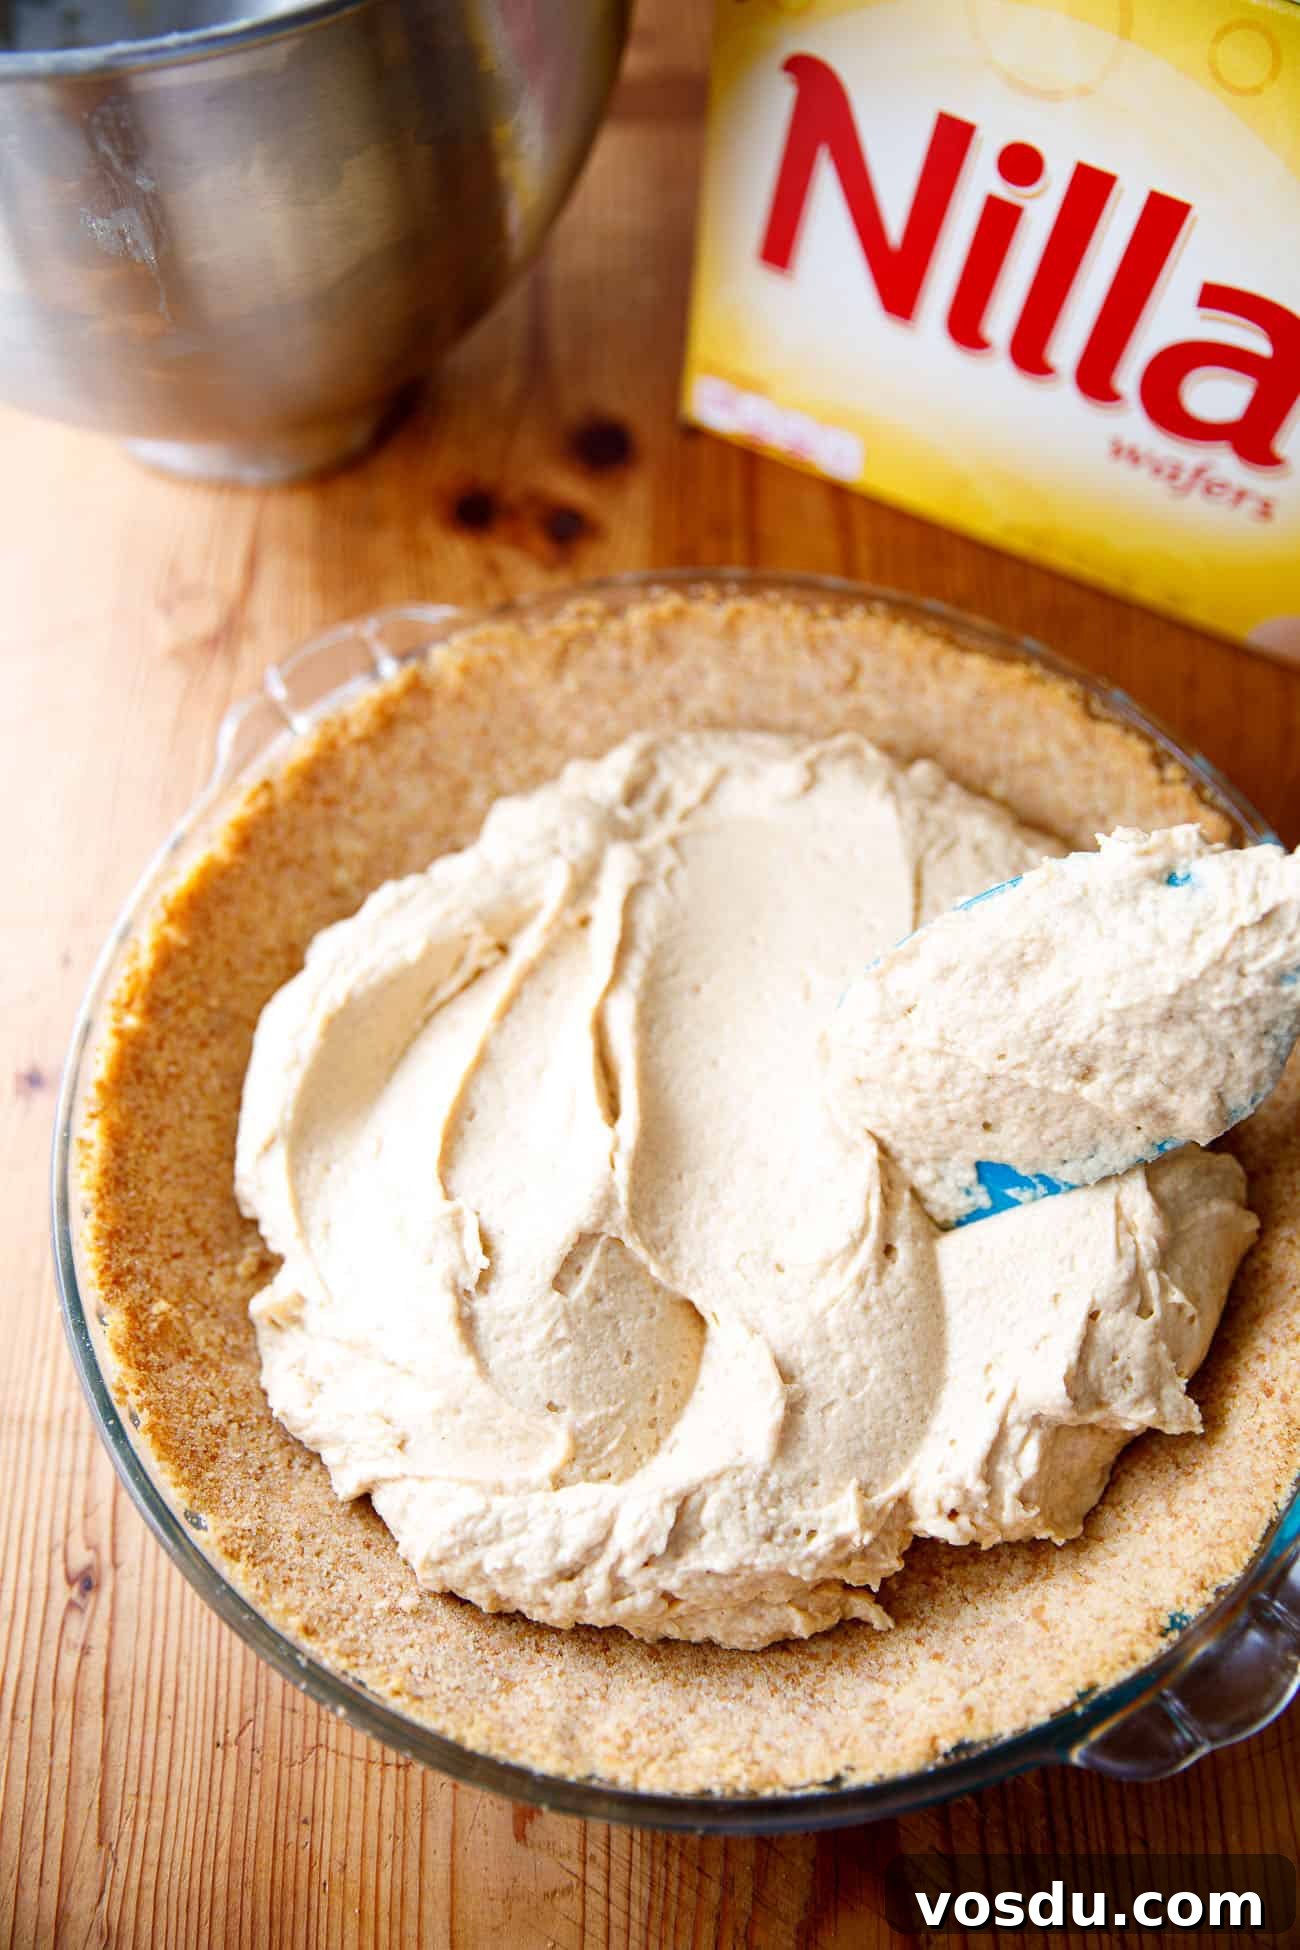
- Add the powdered sugar and beat until fully incorporated. Gently fold in 1½ cups of the thawed whipped topping until combined and fluffy.
- Spread the peanut butter filling evenly into the cooled crust. Cover with plastic wrap and chill until firm, at least 4 hours or overnight.
- Topping
- Before serving, spread the remaining 1½ cups of whipped topping over the chilled pie, leaving a small border of the peanut butter filling visible, if desired.
- Sprinkle the roughly crushed Nilla Wafers in the center of the pie to resemble a nest. Arrange the candy-coated chocolate eggs on top of the crumbs for a festive Easter presentation.
- Store any leftovers covered in the refrigerator for up to 3 days. Slice and serve chilled.
Nutrition
|
Calories: 948 kcal
|
Carbohydrates: 76 g
|
Protein: 15 g
|
Fat: 68 g
|
Saturated Fat: 34 g
|
Cholesterol: 131 mg
|
Sodium: 628 mg
|
Fiber: 2 g
|
Sugar: 52 g
Nutrition values are estimates, sourced from an online nutrition calculator. This information should never be considered a substitute for medical advice. Number of total servings shown is approximate. Actual number of servings will depend on your preferred portion sizes.
Did you make this?
I would love to hear from you! Leave a review in the comments to share your tips or variations. Follow along on social channels for more recipes and decorating ideas.